FREE DINNER EBOOK!
Get your copy!
Cookie Policy
GDPR Policy
Disclaimer
Terms Of Use
Visit my other site:
Fun Cookie Recipes
Home
Dinner
Desserts
Drinks
Appetizers
Contact
About
Privacy Policy
Home
Dinner
Desserts
Drinks
Appetizers
Contact
About
Privacy Policy
Cookie Policy
GDPR Policy
Disclaimer
Terms Of Use
Visit my other site:
Fun Cookie Recipes
HOME / CATEGORIES /
Latest
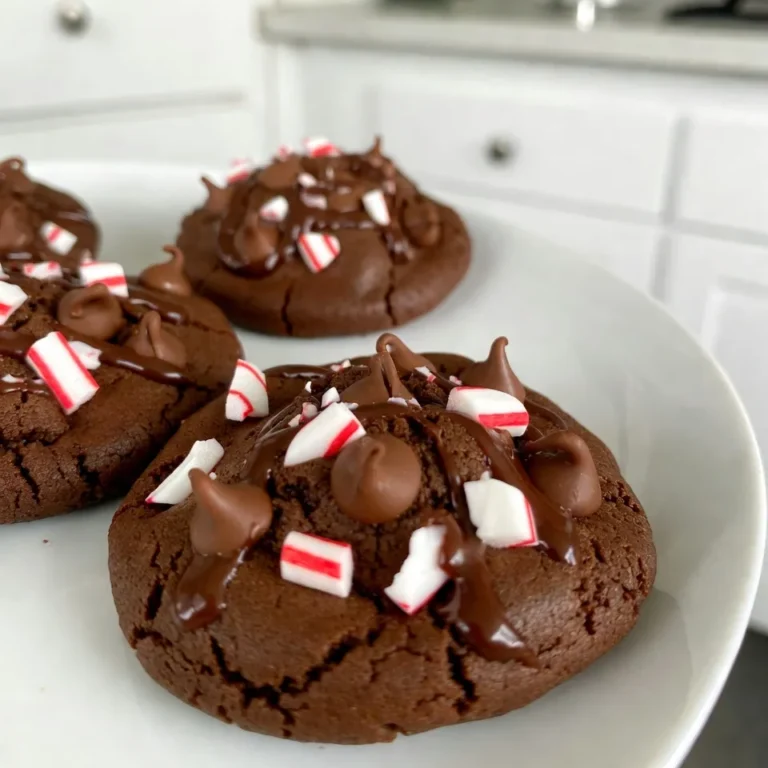
Peppermint Brownie Cookies Irresistible Chocolate Treat
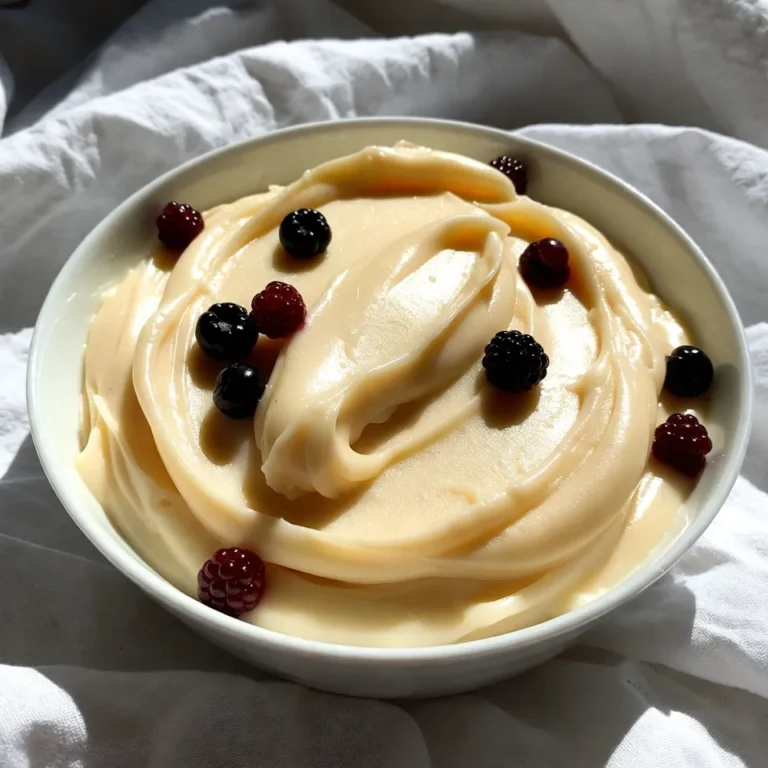
Velvety White Chocolate Ganache Rich and Creamy Recipe
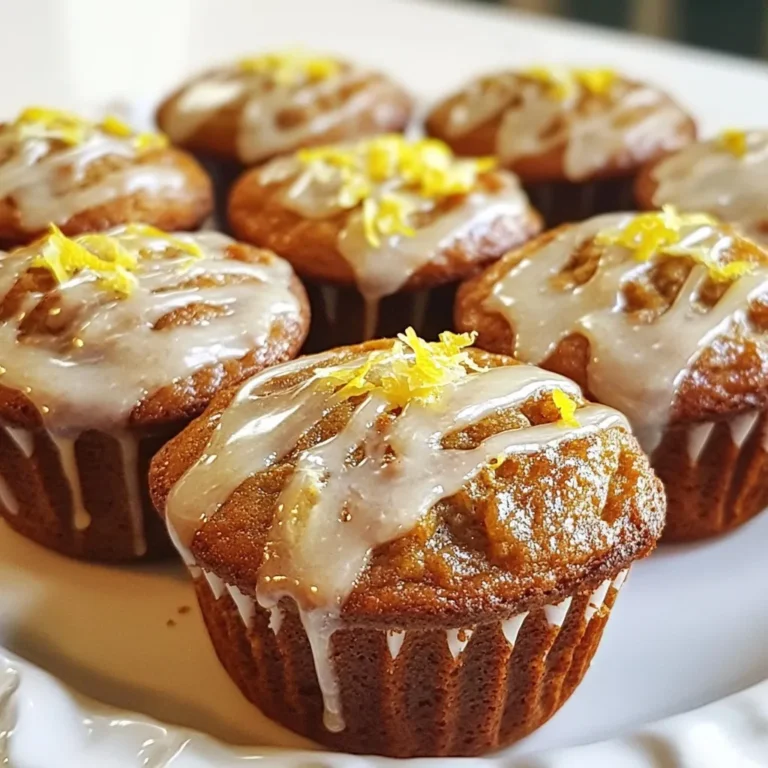
Gingerbread Muffins with Lemon Glaze Simple Delight
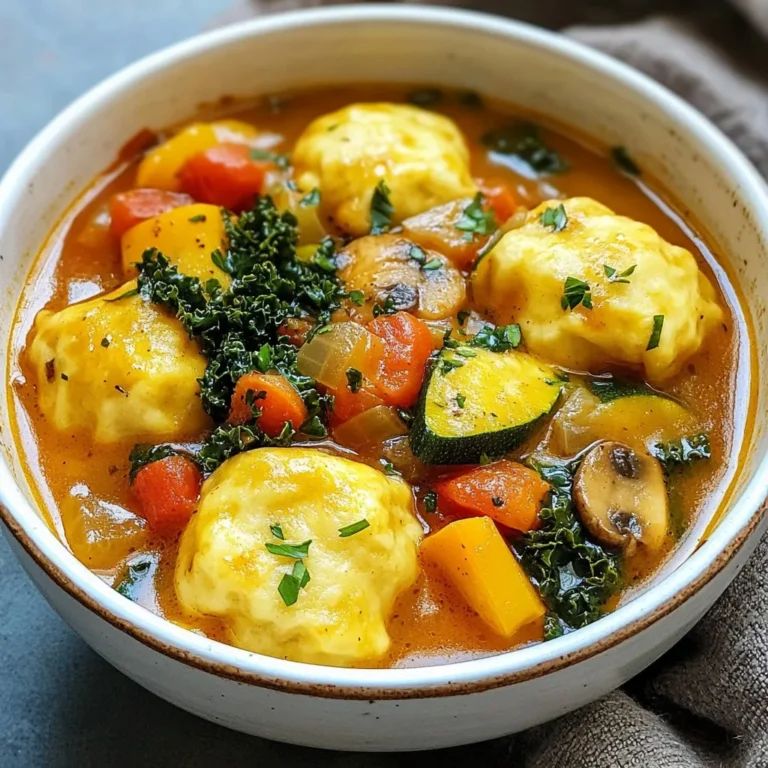
Vegan Dumpling Stew Flavorful and Hearty Comfort Food
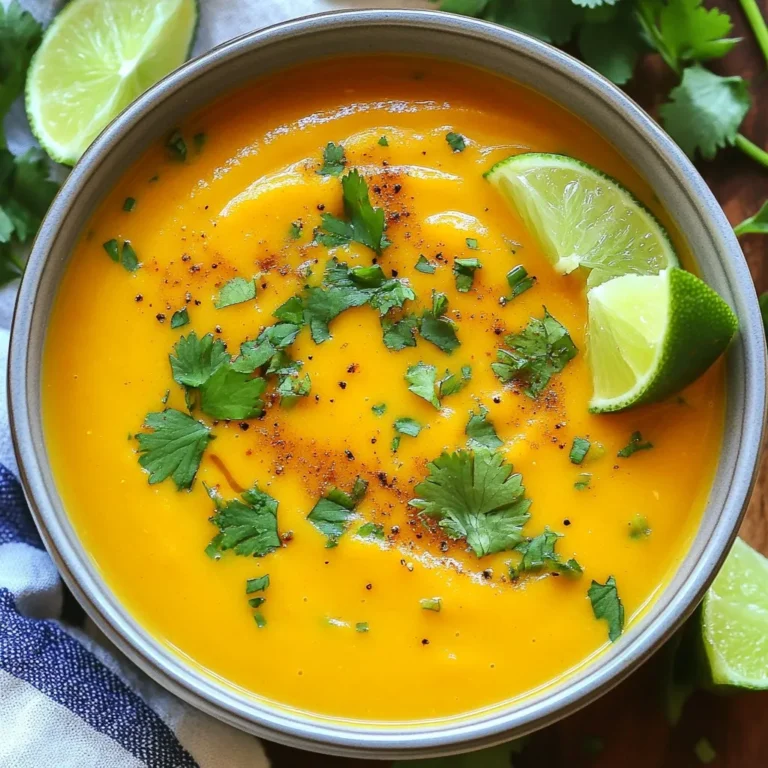
Carrot Ginger Soup Healthy Comfort in a Bowl
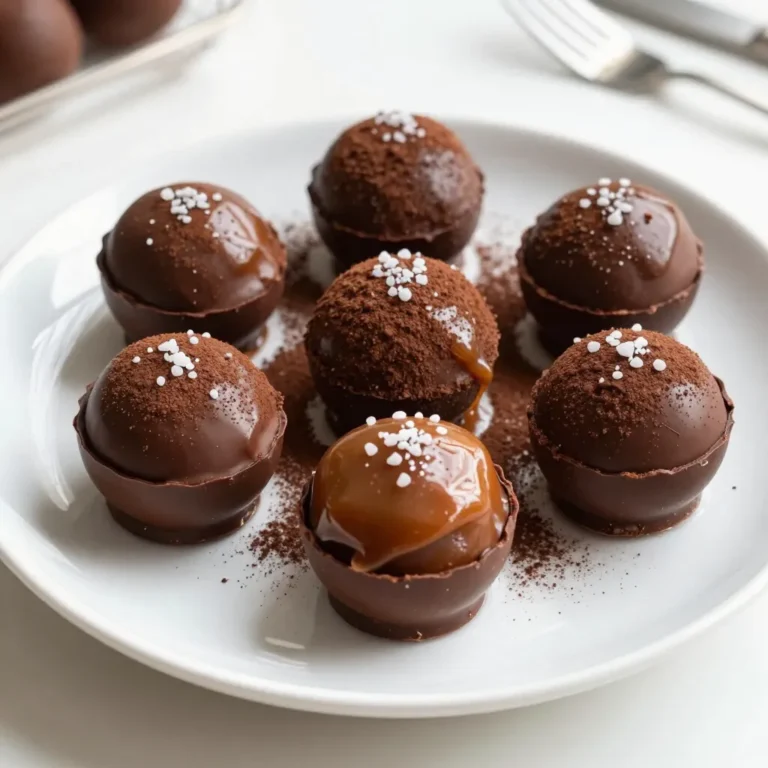
Salted Caramel Truffles Delightful Chocolate Treat
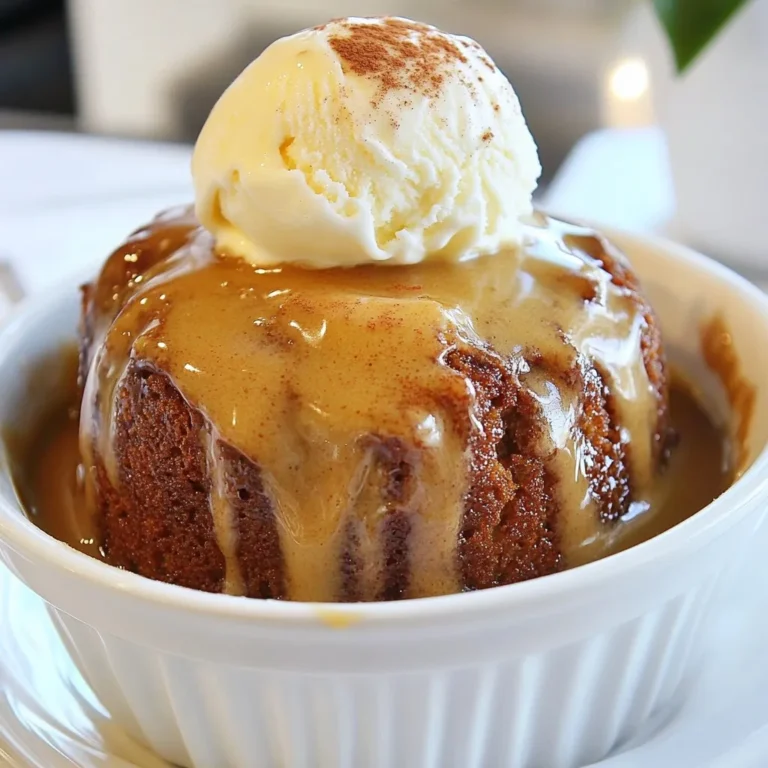
Gingerbread Pudding Cake with Toffee Sauce Delight
Sparkling Eggnog Champagne Fizz Festive Holiday Delight
Weeknight Ground Beef Enchiladas Quick and Easy Meal
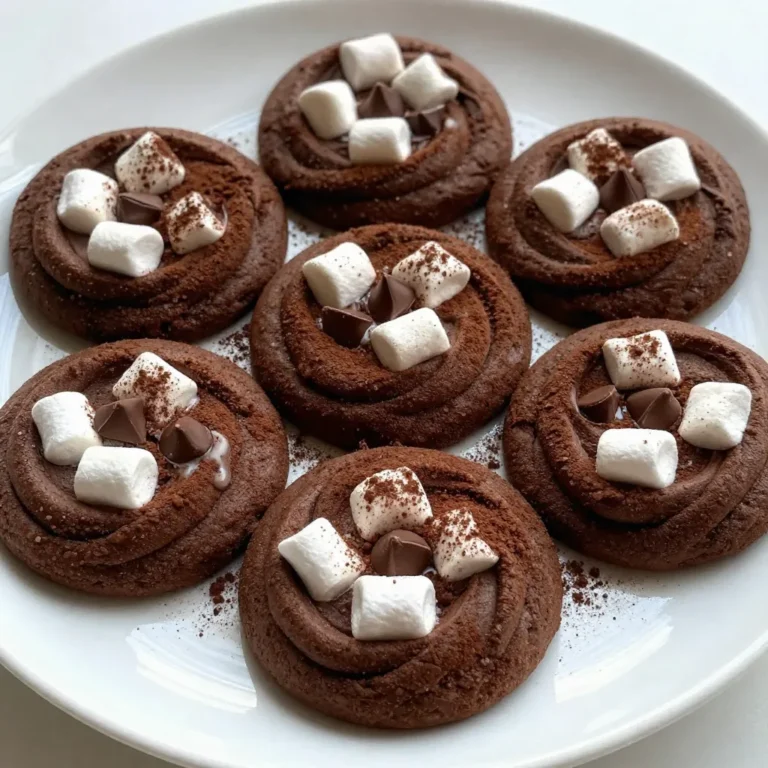
Chocolate Marshmallow Swirl Cookies Tasty and Fun
1
2
…
39
NEXT