FREE DINNER EBOOK!
Get your copy!
Cookie Policy
GDPR Policy
Disclaimer
Terms Of Use
Visit my other site:
Fun Cookie Recipes
Home
Dinner
Desserts
Drinks
Appetizers
Contact
About
Privacy Policy
Home
Dinner
Desserts
Drinks
Appetizers
Contact
About
Privacy Policy
Cookie Policy
GDPR Policy
Disclaimer
Terms Of Use
Visit my other site:
Fun Cookie Recipes
HOME / CATEGORIES /
Latest
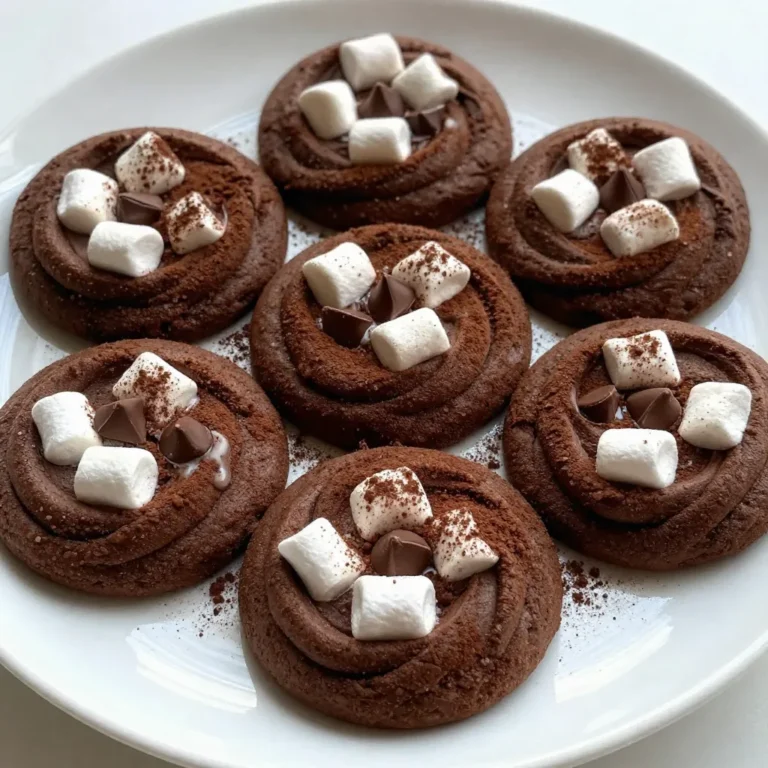
Chocolate Marshmallow Swirl Cookies Tasty and Fun
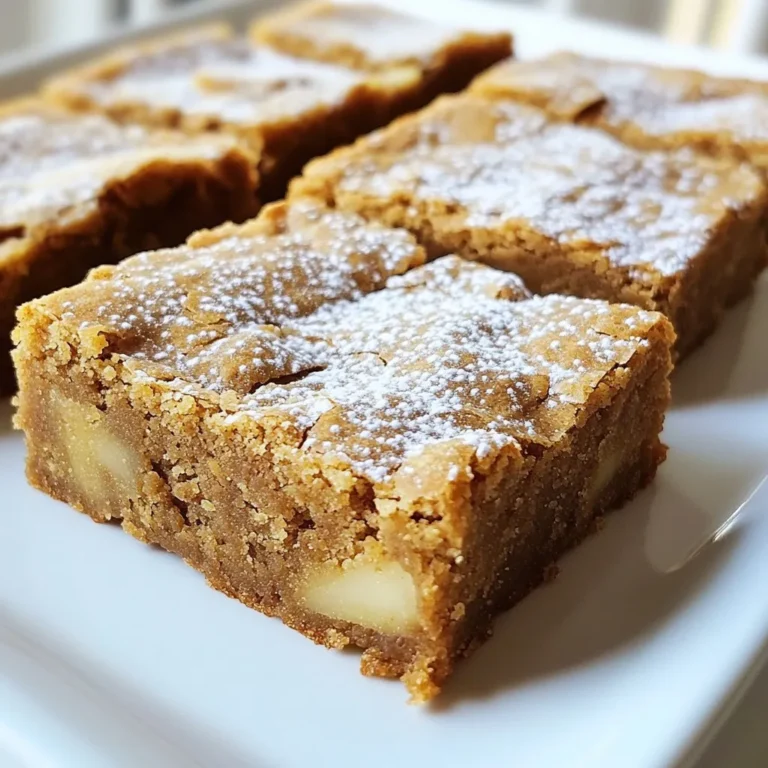
Gingerbread Blondies Delightful Festive Dessert Recipe
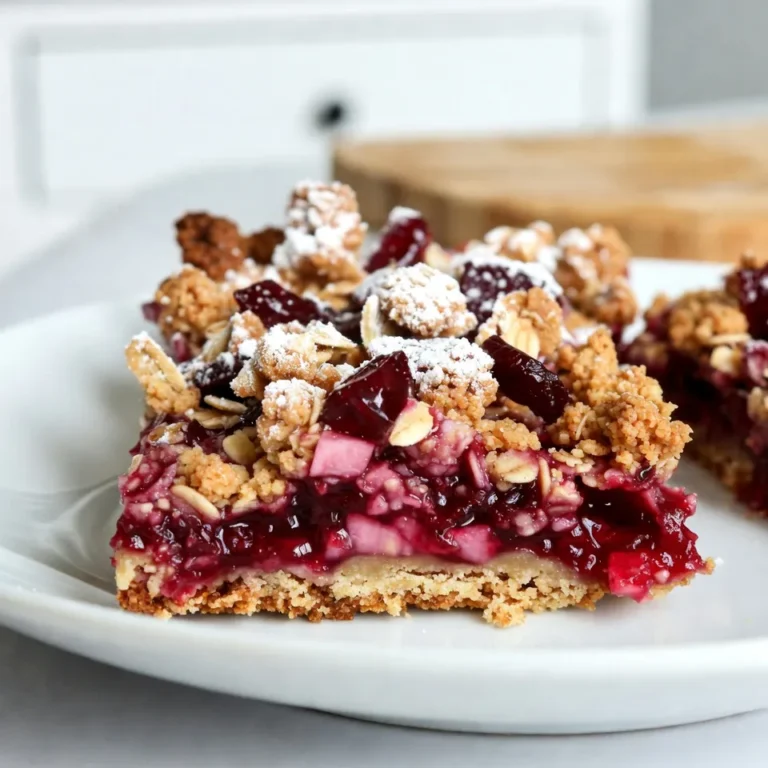
Cranberry Crumble Bars Delightful and Easy Recipe
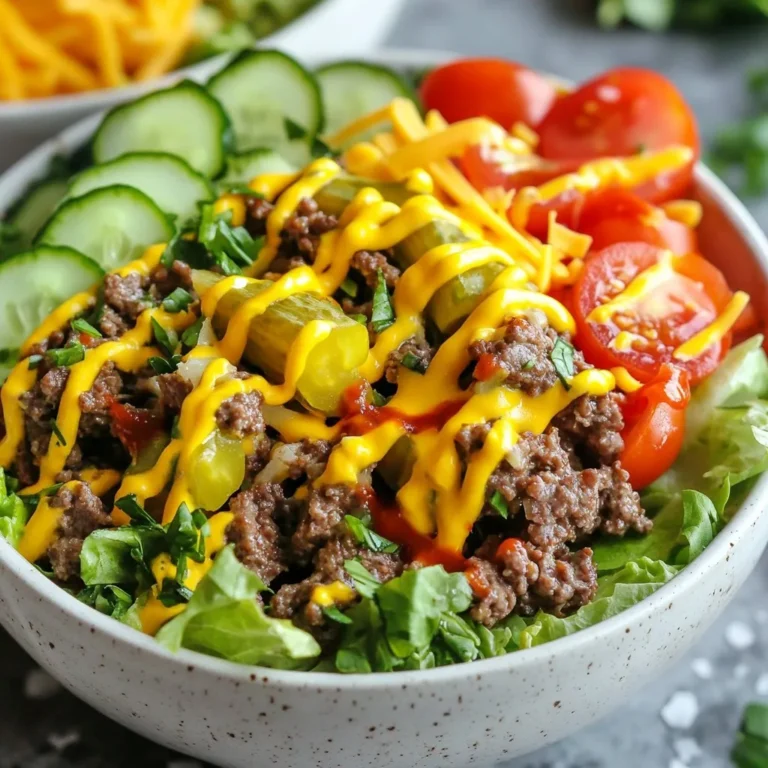
Burger Bowls Packed with Flavorful Fresh Ingredients
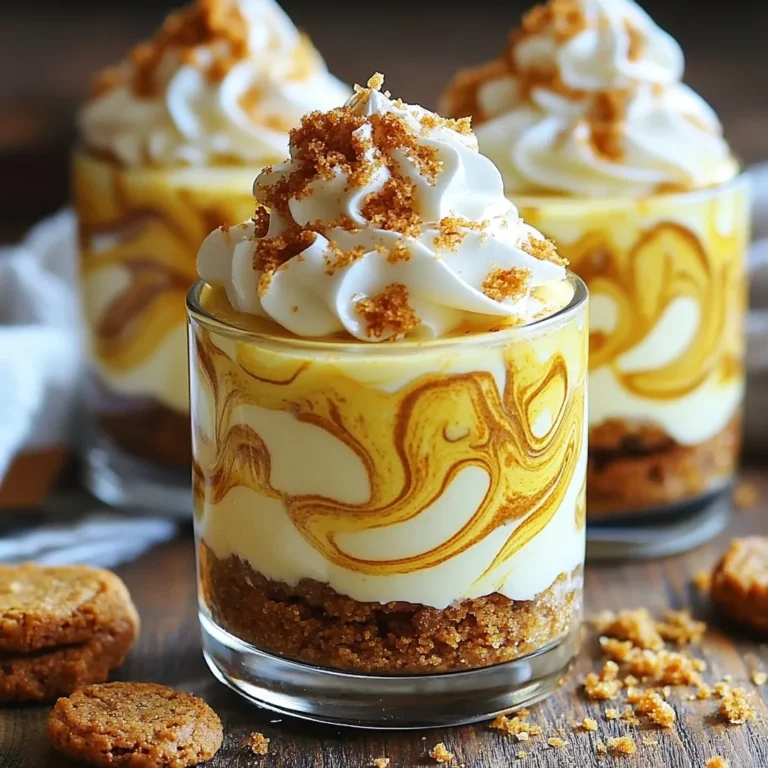
No-Bake Gingerbread Cheesecake Cups Delightful Treat
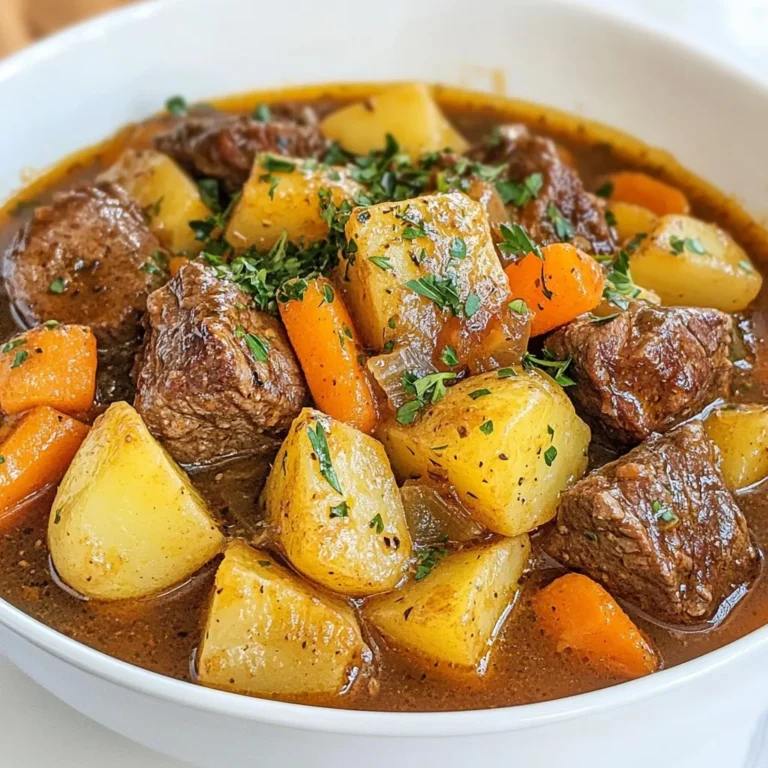
French Country Beef Stew Hearty and Flavorful Dish
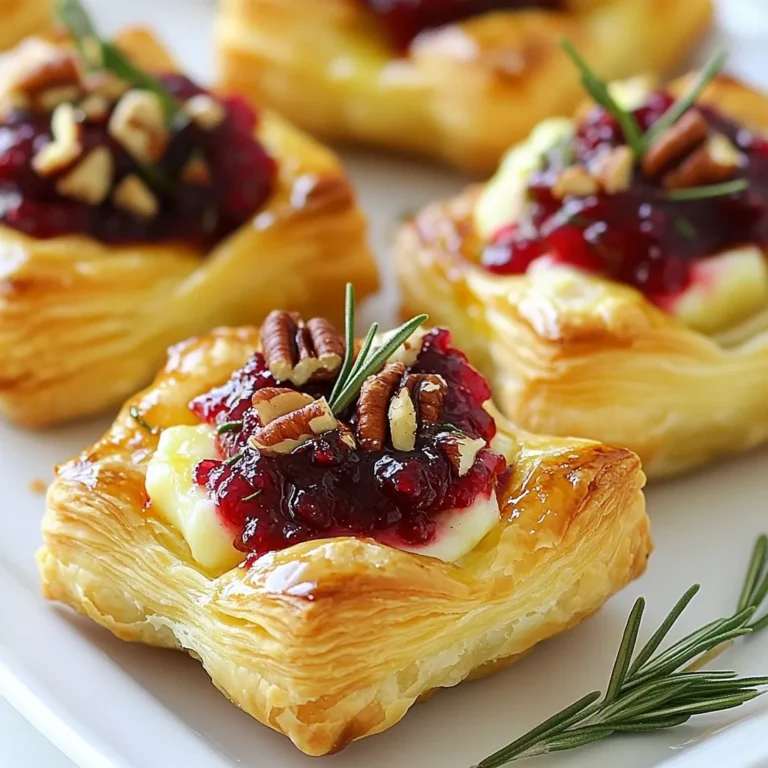
Cranberry Brie Bites Savory and Simple Appetizer
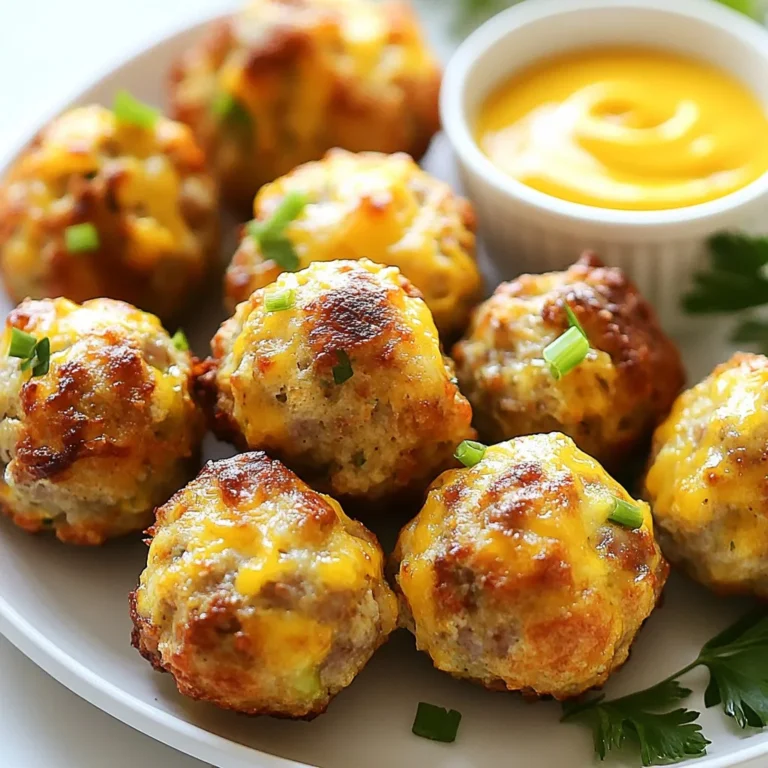
Savory Bisquick Sausage Balls Easy and Delicious Snack
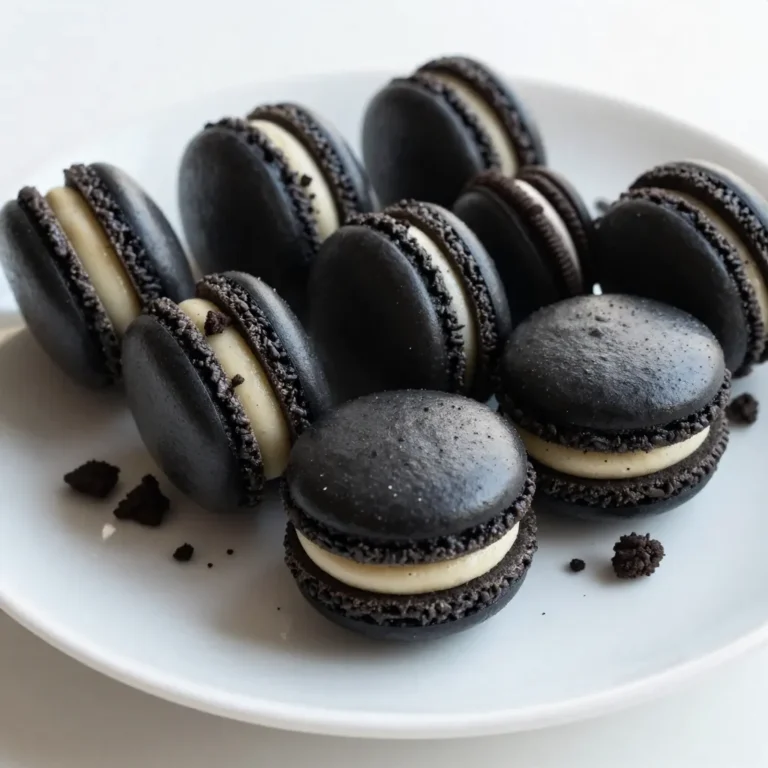
Oreo Macarons Delightful and Easy Homemade Treat
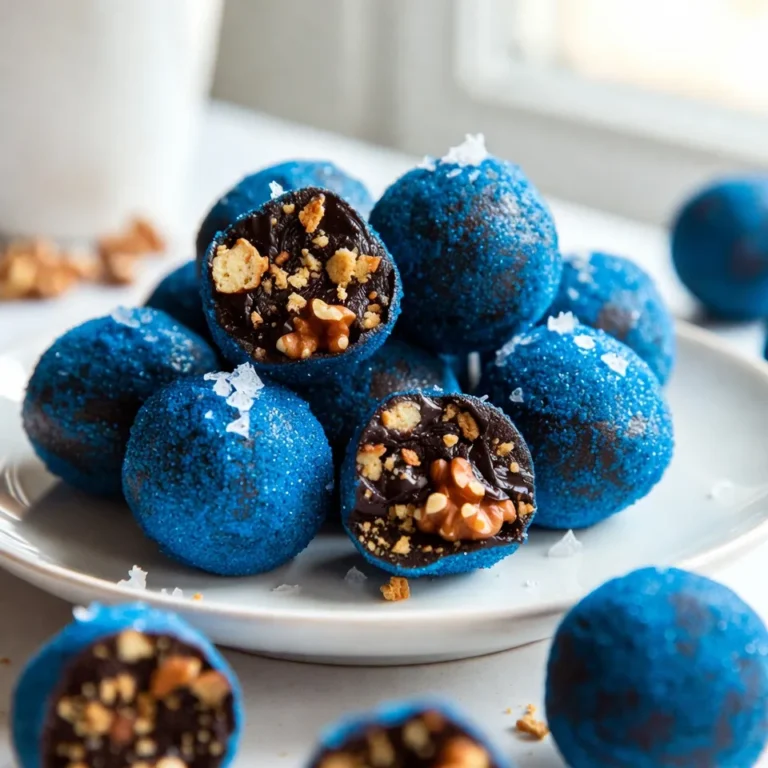
Blue Christmas Truffles Delicious Festive Treats
PREV
1
2
3
…
40
NEXT