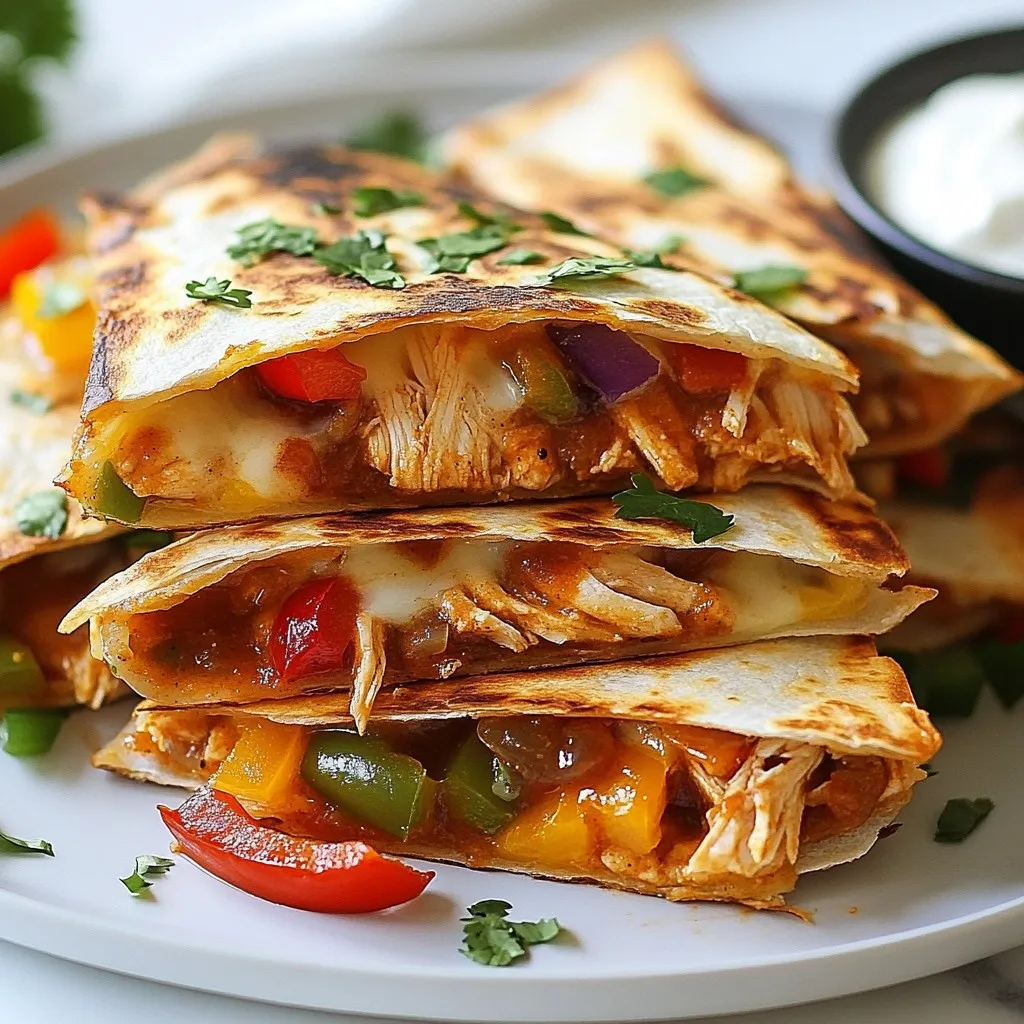
Looking for a quick meal that packs a punch? These BBQ Chicken Quesadilla Melts are your answer! They are delicious, simple to make, and great for any meal. I’ll guide you through the key ingredients and easy steps to whip up this crowd-pleaser. Get ready to turn your kitchen into a flavor zone with these cheesy delights that everyone will love! Let’s dive in!
Why I Love This Recipe
- Easy to Make: This recipe requires minimal prep and cooking time, making it perfect for busy weeknights.
- Flavor Packed: The combination of BBQ sauce, chicken, and sautéed veggies creates a delicious flavor explosion.
- Customizable: You can easily modify the ingredients to suit your taste, whether it’s adding more veggies or changing the cheese.
- Great for Sharing: These quesadilla melts are perfect for gatherings or game days, making them a crowd-pleaser.
Ingredients
Main Ingredients for BBQ Chicken Quesadilla Melts
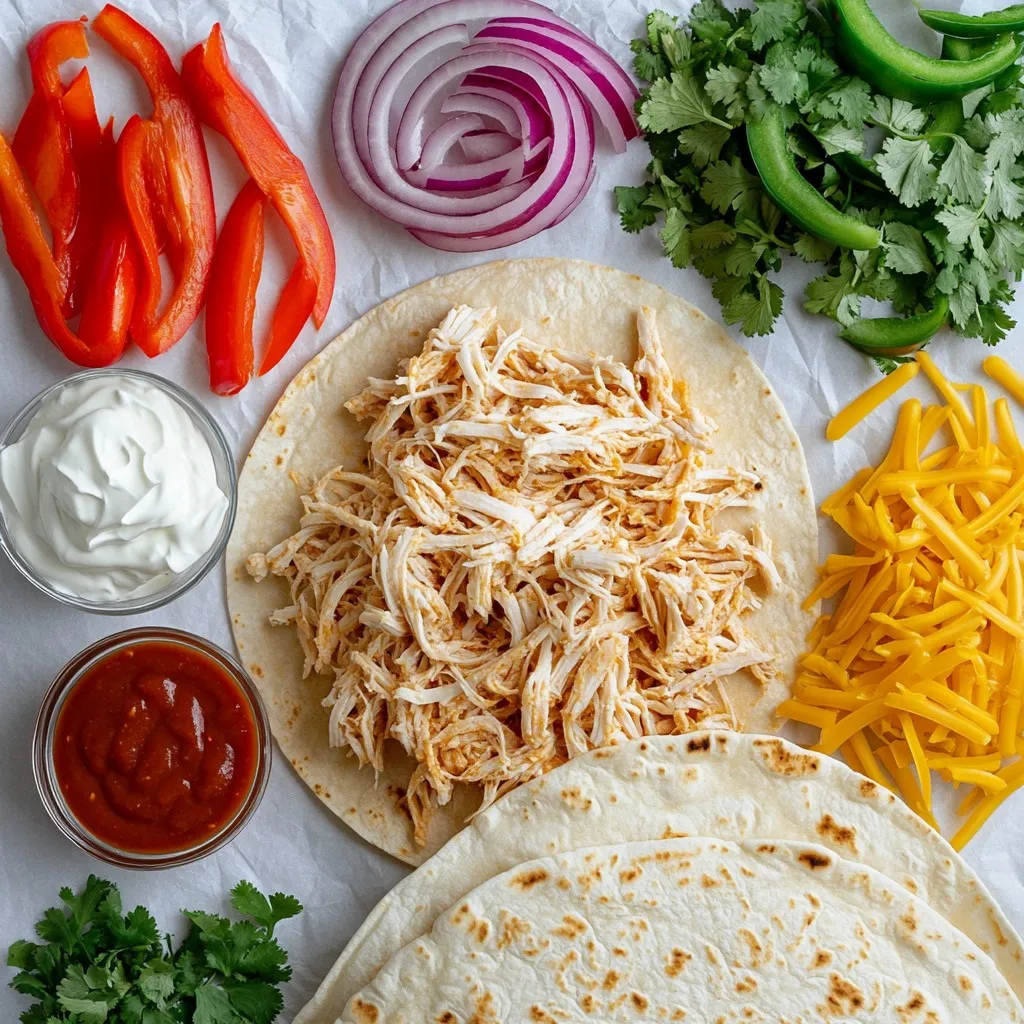
To make BBQ Chicken Quesadilla Melts, you need:
– 2 cups cooked chicken, shredded
– 1 cup BBQ sauce
– 1 cup shredded cheese (cheddar or Monterey Jack preferred)
– 4 large flour tortillas
– 1 bell pepper, thinly sliced (any color)
– 1 small red onion, thinly sliced
– 2 tablespoons olive oil
These ingredients form the base of the dish. The chicken and BBQ sauce create a rich flavor. The cheese adds creaminess, while the veggies give a nice crunch.
Optional Ingredients for Serving
You can enhance your quesadilla melts with:
– Fresh cilantro, chopped (for garnish)
– Sour cream (for dipping)
Cilantro adds a fresh taste. Sour cream makes a nice dip to balance the BBQ flavor.
Recommended Cheese Types
For the best flavor, I suggest using:
– Cheddar cheese
– Monterey Jack cheese
Both types melt well and enhance the dish. Cheddar brings a sharp taste, while Monterey Jack adds creaminess. You can mix them for a tasty combo!
Step-by-Step Instructions
Preparing the BBQ Chicken Filling
Start by mixing the cooked chicken with BBQ sauce. Use a large bowl. Make sure every piece of chicken gets coated well. This step is key for flavor. Set the mixture aside. Let the chicken soak in the sauce’s goodness.
Sautéing the Vegetables
Next, heat olive oil in a large skillet over medium heat. Once the oil is hot, add the sliced bell pepper and red onion. Stir them often. Cook until they soften and smell great. This should take about 5 to 7 minutes. The veggies add crunch and flavor to your quesadillas.
Assembling and Cooking the Quesadillas
Now, grab a tortilla and lay it flat. Spread a good amount of the BBQ chicken mixture on half of the tortilla. Then, sprinkle a handful of cheese on top. Add a spoonful of your sautéed veggies. Fold the tortilla in half, pressing gently to seal. Place the folded quesadilla in the hot skillet. Cook for 3 to 4 minutes on one side until golden and crispy. Flip it with a spatula and cook the other side for another 3 to 4 minutes. The cheese should melt nicely, and both sides should look golden brown. When done, let it rest for a minute. This helps the cheese firm up, making it easier to slice. Cut the quesadilla into wedges and repeat with the rest of your tortillas and filling.
Serving Suggestions
Garnish your quesadilla melts with freshly chopped cilantro. This adds a nice touch. Serve them with a side of sour cream for dipping. The cool sour cream pairs well with the warm quesadillas. Enjoy your tasty meal!
Tips & Tricks
How to Achieve the Perfect Crispy Quesadilla
To get a crispy quesadilla, use a hot skillet. Heat the skillet over medium heat before adding the quesadilla. Use enough oil to coat the pan lightly. This helps the tortilla get golden and crisp. Cook each side for 3-4 minutes. Keep an eye on it to prevent burning. If you want even crispier edges, consider using butter instead of olive oil.
Flavor Enhancements and Customizations
You can make these quesadilla melts your own. Try adding spices to the chicken mix, like cumin or paprika, for a kick. Add jalapeños for heat or diced tomatoes for freshness. Swap the bell pepper for mushrooms or zucchini for a different taste. Fresh herbs like cilantro or green onions can add brightness. Experiment with your favorite flavors!
Choosing the Right Tortilla
The tortilla choice matters. Flour tortillas are soft and chewy, making them great for quesadillas. Choose large ones so you can fit more filling. If you prefer a healthier option, try whole wheat tortillas. Corn tortillas can also work but may be less soft. Always check for freshness by looking at the expiration date. Fresh tortillas will give you the best texture.
Pro Tips
- Use Leftover Chicken: This recipe is perfect for utilizing leftover rotisserie chicken, making it a quick and convenient meal option.
- Customize Your Veggies: Feel free to add your favorite vegetables such as mushrooms, spinach, or corn for added flavor and nutrition.
- Keep it Crispy: Ensure your skillet is hot enough before adding the quesadilla to achieve that perfect golden-brown, crispy exterior.
- Experiment with Cheese: Try using a blend of cheeses like pepper jack for a little kick or mozzarella for a gooey texture.
Variations
Vegetarian BBQ Quesadilla Melts
You can make a tasty vegetarian version of BBQ quesadilla melts. Start by using a mix of colorful veggies like zucchini, mushrooms, and corn. Toss them in BBQ sauce. Follow the same steps as the chicken version. Keep the cheese, or use a dairy-free option. This dish stays flavorful and satisfying.
Alternative Protein Options
If you want to switch proteins, try using pulled pork or beef. Shredded jackfruit works well for a plant-based choice. Each protein brings a unique taste. Mix it with BBQ sauce just like you do with chicken. You can enjoy different flavors and textures this way.
Different Sauces to Experiment With
Switch up the sauce for fun. Try using spicy buffalo sauce for a kick. Honey mustard can add a sweet twist. Teriyaki sauce gives an Asian flair. These sauces change the whole vibe of your quesadilla. Don’t be afraid to mix and match!
Storage Info
Best Practices for Storing Leftovers
To store any leftover BBQ chicken quesadilla melts, follow these steps:
– Allow the quesadillas to cool.
– Place them in an airtight container.
– Keep them in the fridge for up to three days.
This helps maintain their taste and texture. If you want to save them longer, freezing is a great option.
Reheating Suggestions for Optimal Taste
When you are ready to enjoy your leftovers, reheating properly keeps them tasty. Here’s how:
– Preheat your skillet over medium heat.
– Place the quesadilla in the skillet without adding oil.
– Heat for about 3-4 minutes on each side.
You can also use an oven. Just wrap them in foil. Bake them at 350°F for about 10-15 minutes. This keeps them crispy and delicious.
Freezing Instructions for Quesadilla Melts
Freezing is easy and a smart way to save these melts. Here’s what you do:
– Let the quesadillas cool completely.
– Wrap each one in plastic wrap or aluminum foil.
– Place them in a freezer-safe bag or container.
They can last for up to three months in the freezer. When ready to eat, thaw them overnight in the fridge before reheating. Enjoy your tasty BBQ chicken quesadilla melts anytime!
FAQs
What is the best way to make BBQ with chicken?
The best way to make BBQ with chicken is to use shredded, cooked chicken. Mix it with your favorite BBQ sauce. This gives the chicken a rich, smoky flavor. You can use rotisserie chicken for quick prep. Make sure to coat all the chicken pieces well. This helps each bite taste amazing. Adding spices can enhance the BBQ flavor too.
Can I use whole wheat tortillas instead?
Yes, you can use whole wheat tortillas instead of flour ones. Whole wheat tortillas add a nutty flavor and extra fiber. They are a healthier option. Just ensure they are large enough to hold your fillings. The cooking time stays the same. You will achieve a tasty and nutritious meal with this swap.
How long can I store BBQ chicken quesadilla melts?
You can store BBQ chicken quesadilla melts in the fridge for about 3 days. Keep them in an airtight container. This helps them stay fresh longer. If you want to freeze them, wrap them tightly in foil or plastic wrap. They will last up to 2 months in the freezer. Remember to thaw them in the fridge before reheating.
Are there gluten-free options for this recipe?
Yes, there are gluten-free options for this recipe. You can use gluten-free tortillas for the quesadillas. Many brands offer tasty gluten-free choices. Just check the labels to ensure they fit your needs. This way, everyone can enjoy BBQ chicken quesadilla melts without gluten.
This blog post covers everything you need for BBQ chicken quesadilla melts. You learned about key ingredients, step-by-step cooking, and tasty variations. I shared tips for crispiness and storage methods to keep them fresh. You can mix sauces and proteins for new flavors too. Overall, BBQ chicken quesadilla melts are simple to make and fun to customize. Dive into this easy dish, and enjoy your delicious creatio