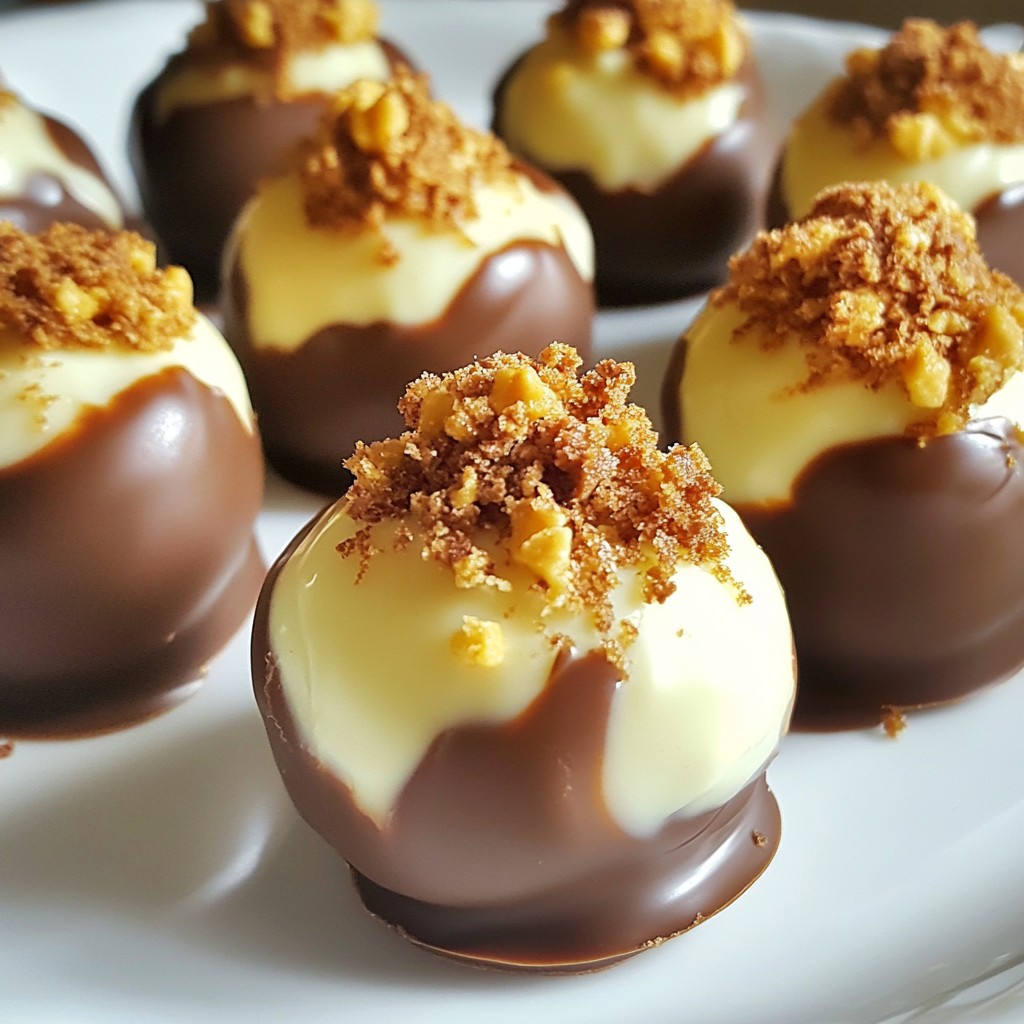
Are you ready to treat yourself? These Butterfinger truffles are a sweet and crunchy delight. With a creamy center and a rich chocolate coating, they’re perfect for any celebration or snack time. Follow my easy, step-by-step guide to make these tasty treats at home. Your friends and family will love them! Let’s dive into the ingredients and start creating this delicious dessert together.
Why I Love This Recipe
- Irresistible Flavor: The combination of creamy cream cheese and crunchy Butterfinger creates a delightful contrast that is hard to resist.
- Easy to Make: With just a few simple steps, you can whip up these truffles in no time, making them perfect for last-minute treats.
- Perfect for Any Occasion: Whether it’s a party, holiday, or just a sweet craving, these truffles fit right in and impress everyone.
- Customizable Delight: You can easily adjust the recipe by adding different toppings or flavors, making it versatile for everyone’s taste.
Ingredients
Main Ingredients for Butterfinger Truffles
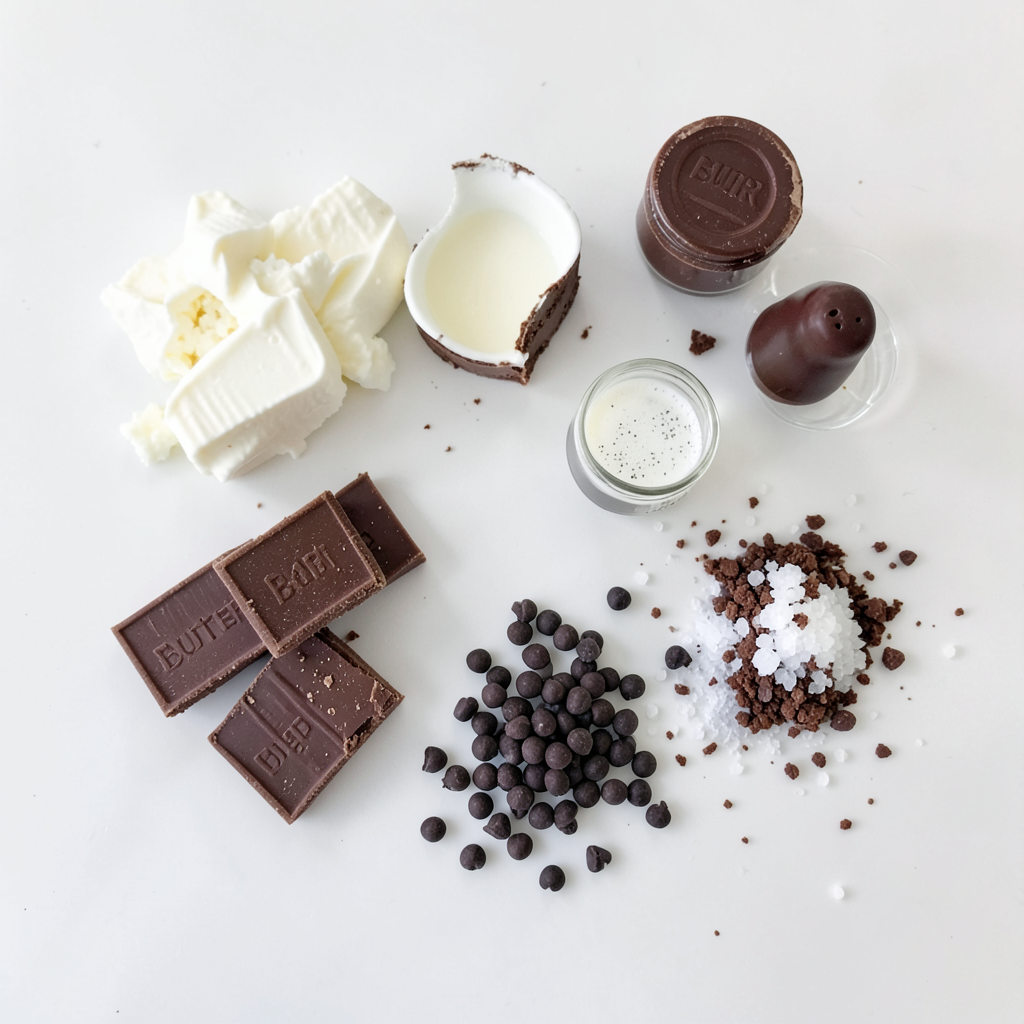
- 1 cup Butterfinger candy bars, crushed (about 4-5 bars)
- 1 cup cream cheese, softened
- 1 teaspoon pure vanilla extract
- 2 cups semi-sweet chocolate chips
- 2 tablespoons coconut oil (for melting)
- A pinch of sea salt
These main ingredients make your truffles rich and creamy. The crushed Butterfinger adds that beloved crunchy texture and sweet flavor. Softened cream cheese binds everything together, creating a smooth base. The vanilla extract enhances the sweetness, while the chocolate coating gives that classic truffle finish.
Optional Garnishes
- Additional crushed Butterfinger for topping
- Drizzle of melted chocolate
Using extra crushed Butterfinger on top gives a nice crunch. A drizzle of melted chocolate can make them look fancy. You can also try sprinkling some sea salt for a sweet-salty twist.
Recommended Tools and Equipment
- Mixing bowl
- Electric mixer or spatula
- Parchment paper
- Baking sheet
- Microwave-safe bowl
- Fork for dipping
These tools help you mix, form, and coat your truffles easily. Parchment paper prevents sticking, and the microwave-safe bowl makes melting chocolate simple. Using a fork helps with dipping, ensuring a smooth coat of chocolate.
Step-by-Step Instructions
Preparing the Truffle Mixture
Start by taking your crushed Butterfinger bars. You will need about one cup, which is around 4 to 5 bars. In a mixing bowl, add the crushed Butterfinger, one cup of softened cream cheese, and one teaspoon of pure vanilla extract. Use a spatula or mixer to mix until the blend is smooth. Make sure there are no lumps. This step brings out the sweet, nutty flavor of the Butterfinger.
Rolling and Chilling the Truffles
Next, use clean hands to scoop out small portions of the mixture. Roll them into balls that are about one inch in size. Place these truffles on a parchment-lined baking sheet. This prevents any sticking. Once you have rolled all the truffles, put the baking sheet in the freezer. Let them chill for about 30 minutes, or until they feel firm. This step helps them hold their shape when you coat them in chocolate.
Coating the Truffles in Chocolate
While the truffles chill, prepare the chocolate coating. In a microwave-safe bowl, combine two cups of semi-sweet chocolate chips with two tablespoons of coconut oil. Heat this in the microwave for 30 seconds at a time. Stir well after each time until the chocolate is fully melted and smooth. Once the truffles are firm, take them out of the freezer. Dip each truffle into the melted chocolate using a fork. Make sure they are fully coated, then gently shake off the extra chocolate.
Final Touches and Presentation
Return the chocolate-coated truffles to the lined baking sheet. While the chocolate is still wet, sprinkle crushed Butterfinger on top of each truffle. This adds a nice texture and flavor. Let the truffles sit at room temperature for 10 to 15 minutes until the chocolate hardens. If you want to speed this up, place them in the fridge for a few minutes. For a fancy touch, you can arrange the truffles on a decorative platter. Drizzling more melted chocolate over them or adding whole Butterfingers makes a lovely display.
Tips & Tricks
How to Achieve the Best Texture
To get the best texture for your Butterfinger truffles, you must blend well. Mix the crushed Butterfinger, cream cheese, and vanilla until smooth. This ensures a creamy base that holds together nicely. If you find the mix too soft, chill it for a few minutes before rolling. This helps you form nice, round balls.
Chocolate Melting Techniques
Melting chocolate can be tricky. Use a microwave-safe bowl for ease and safety. Heat the chocolate chips in 30-second bursts. Stir after each burst to check if it’s smooth. If you see lumps, keep heating in short intervals. Adding coconut oil helps the chocolate coat better and gives it a nice shine.
Common Mistakes to Avoid
Don’t skip the chilling step! Chilling the truffles makes them easier to coat. If you dip warm truffles, the chocolate may melt. Also, don’t rush the melting process. Burning chocolate ruins its flavor. Lastly, be careful with the salt. Just a pinch adds flavor without overpowering the sweet taste.
Pro Tips
- Chill for Perfect Coating: Ensure that your truffles are adequately chilled before dipping them in chocolate. This prevents them from melting and losing shape during the coating process.
- Use Quality Chocolate: Opt for high-quality chocolate chips for melting, as they will yield a smoother and richer coating. This enhances the overall flavor of your truffles.
- Experiment with Flavors: Feel free to add a hint of peanut butter or a splash of liqueur to the cream cheese mixture for added depth of flavor in your truffles.
- Storage Tips: Store your truffles in an airtight container in the refrigerator. They can last up to two weeks, but they are best enjoyed fresh!
Variations
Different Types of Chocolate Coatings
You can change the chocolate coating on your Butterfinger truffles. Dark chocolate gives a rich flavor. Milk chocolate adds sweetness. You can even use white chocolate for a fun twist. Each type brings its own taste. Experiment to find your favorite!
Flavor Additions and Enhancements
Add fun flavors to your truffles. A touch of orange zest brightens the taste. A dash of peppermint extract gives a cool kick. Try adding crushed nuts for crunch. Each flavor makes the truffles unique and special!
Alternative Candy Bar Options
Feel free to swap Butterfinger with other candy bars. Snickers or Twix can work well. Use Reese’s for a peanut butter twist. Each candy bar changes the truffle's taste and texture. Get creative with your choices!
Storage Information
Best Practices for Storing Butterfinger Truffles
Store your Butterfinger truffles in an airtight container. This keeps them fresh. Place a layer of parchment paper between layers to avoid sticking. Keep them in the fridge for the best taste. The cool temperature helps maintain their shape and flavor.
Freezing Truffles for Long-Term Storage
You can freeze Butterfinger truffles for later. First, chill them in the fridge. Once firm, place them on a baking sheet and freeze for about an hour. After freezing, transfer them to a freezer-safe container. They can last up to three months in the freezer. When ready to eat, let them thaw in the fridge. This keeps them tasty and easy to enjoy.
Shelf Life and Freshness Tips
Butterfinger truffles last about one week in the fridge. Check for signs of spoilage, like an off smell or texture. If they look dry or hard, it’s best to toss them. For the best flavor, eat them within the first few days. This way, you enjoy their creamy texture and sweet taste.
FAQs
Can I Use Other Candy Bars for This Recipe?
Yes, you can use other candy bars! Feel free to swap Butterfinger for Reese's or Snickers. Each candy will give a unique taste. Just crush the candy into small pieces. Mix it with cream cheese and vanilla as you would with Butterfinger. Experimenting will lead to fun new flavors!
How Do I Know When the Truffles Are Fully Set?
You can check if the truffles are set by feeling them. They should be firm and not sticky. After chilling for 30 minutes, they should be ready to dip in chocolate. If they feel soft, give them more time in the freezer. You want a nice, firm texture for easy handling.
What Are Some Serving Suggestions for Butterfinger Truffles?
These truffles are great for any gathering! Serve them on a pretty platter for parties. You can also place them in small cupcake liners for a neat look. Drizzle melted chocolate on top for a fancy touch. Add whole Butterfinger bars for decoration. They make a sweet gift too!
Can I Make Butterfinger Truffles Ahead of Time?
Absolutely! You can make these truffles a few days in advance. Store them in an airtight container in the fridge. They will stay fresh and tasty. For longer storage, freeze them. Just make sure to separate layers with parchment paper to prevent sticking. Enjoy them whenever you like!
In this blog post, I shared how to make Butterfinger truffles. We covered the main ingredients, tools you'll need, and step-by-step instructions. I included tips for texture and chocolate melting. You also learned about fun variations and storage methods.
Making these treats can be easy and fun. With this guide, you can impress anyone with your tasty creations. Enjoy making and sharing your Butterfinger truffles!