Indulging in homemade salted butter caramel is easier than you think! In this guide, I’ll share a simple recipe that brings rich flavors and a delightful texture right to your kitchen. You’ll learn about the key ingredients, step-by-step instructions, and handy tips for perfecting your caramel. Plus, I’ll show you cool variations and storage tips to enjoy this sweet treat for weeks. Ready to impress your taste buds? Let’s get started!
Why I Love This Recipe
- Rich Flavor: This salted butter caramel has a deep, complex flavor that is both sweet and savory, making it a perfect addition to many desserts.
- Simple Ingredients: With just a few pantry staples, you can create this luxurious treat that feels gourmet without the fuss.
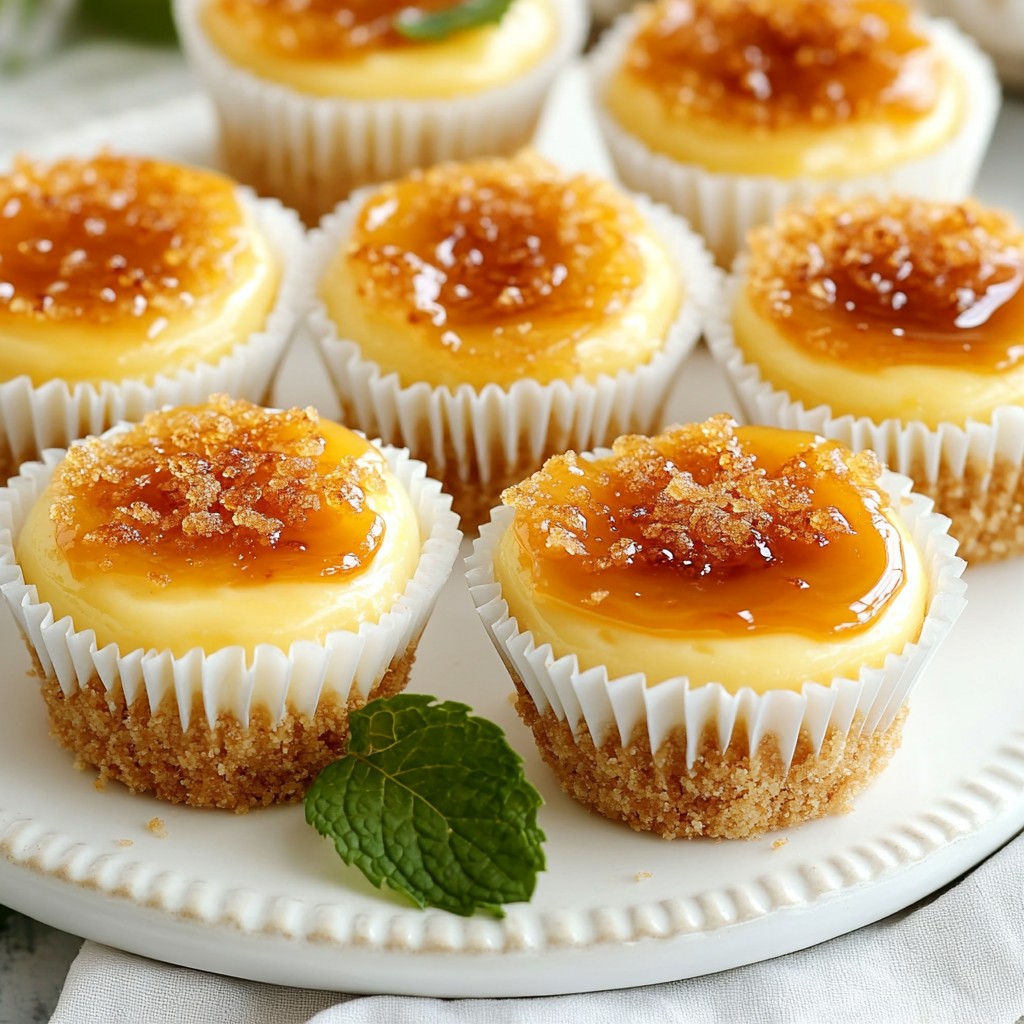
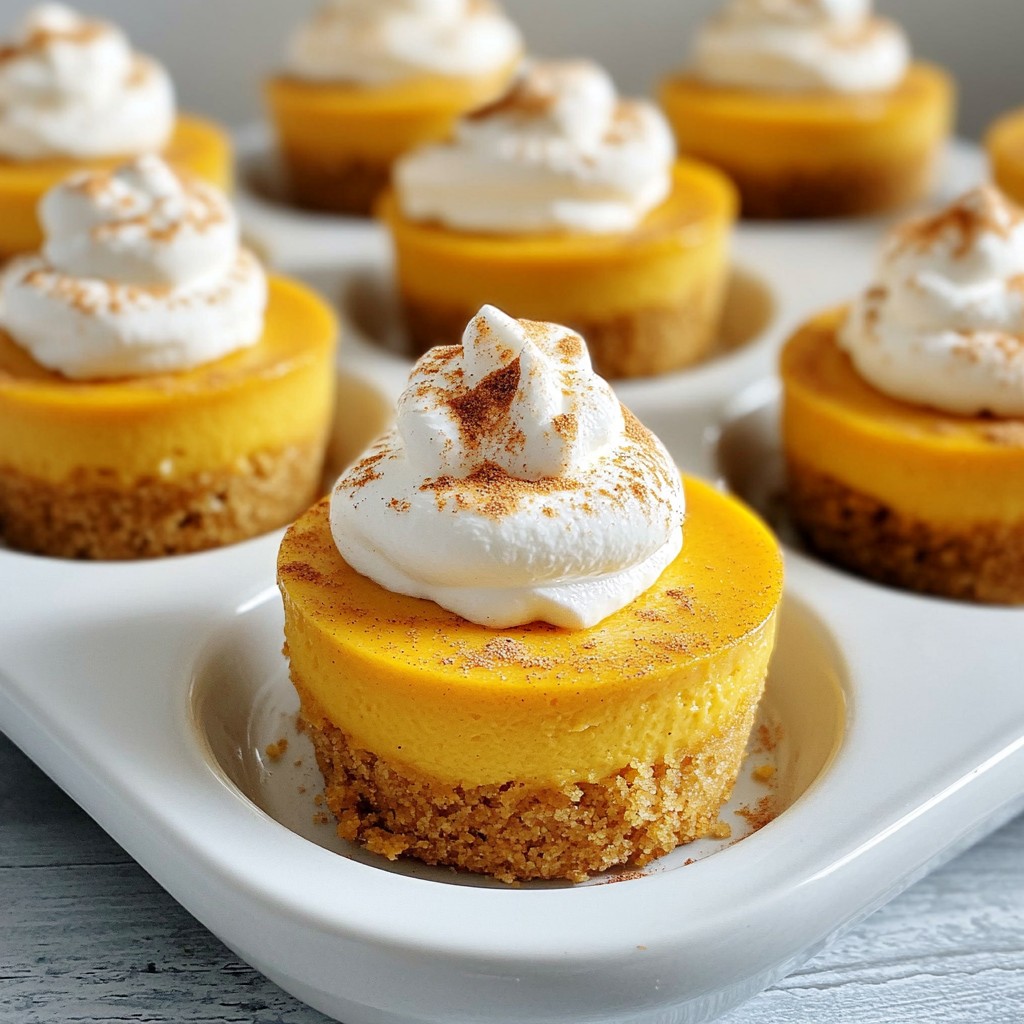
- Versatile Use: Whether drizzled on ice cream, used as a dip, or incorporated into other desserts, this caramel elevates any dish.
- Gifting Potential: Homemade caramel in a decorative jar makes for a thoughtful and delicious gift that anyone would appreciate.
Ingredients
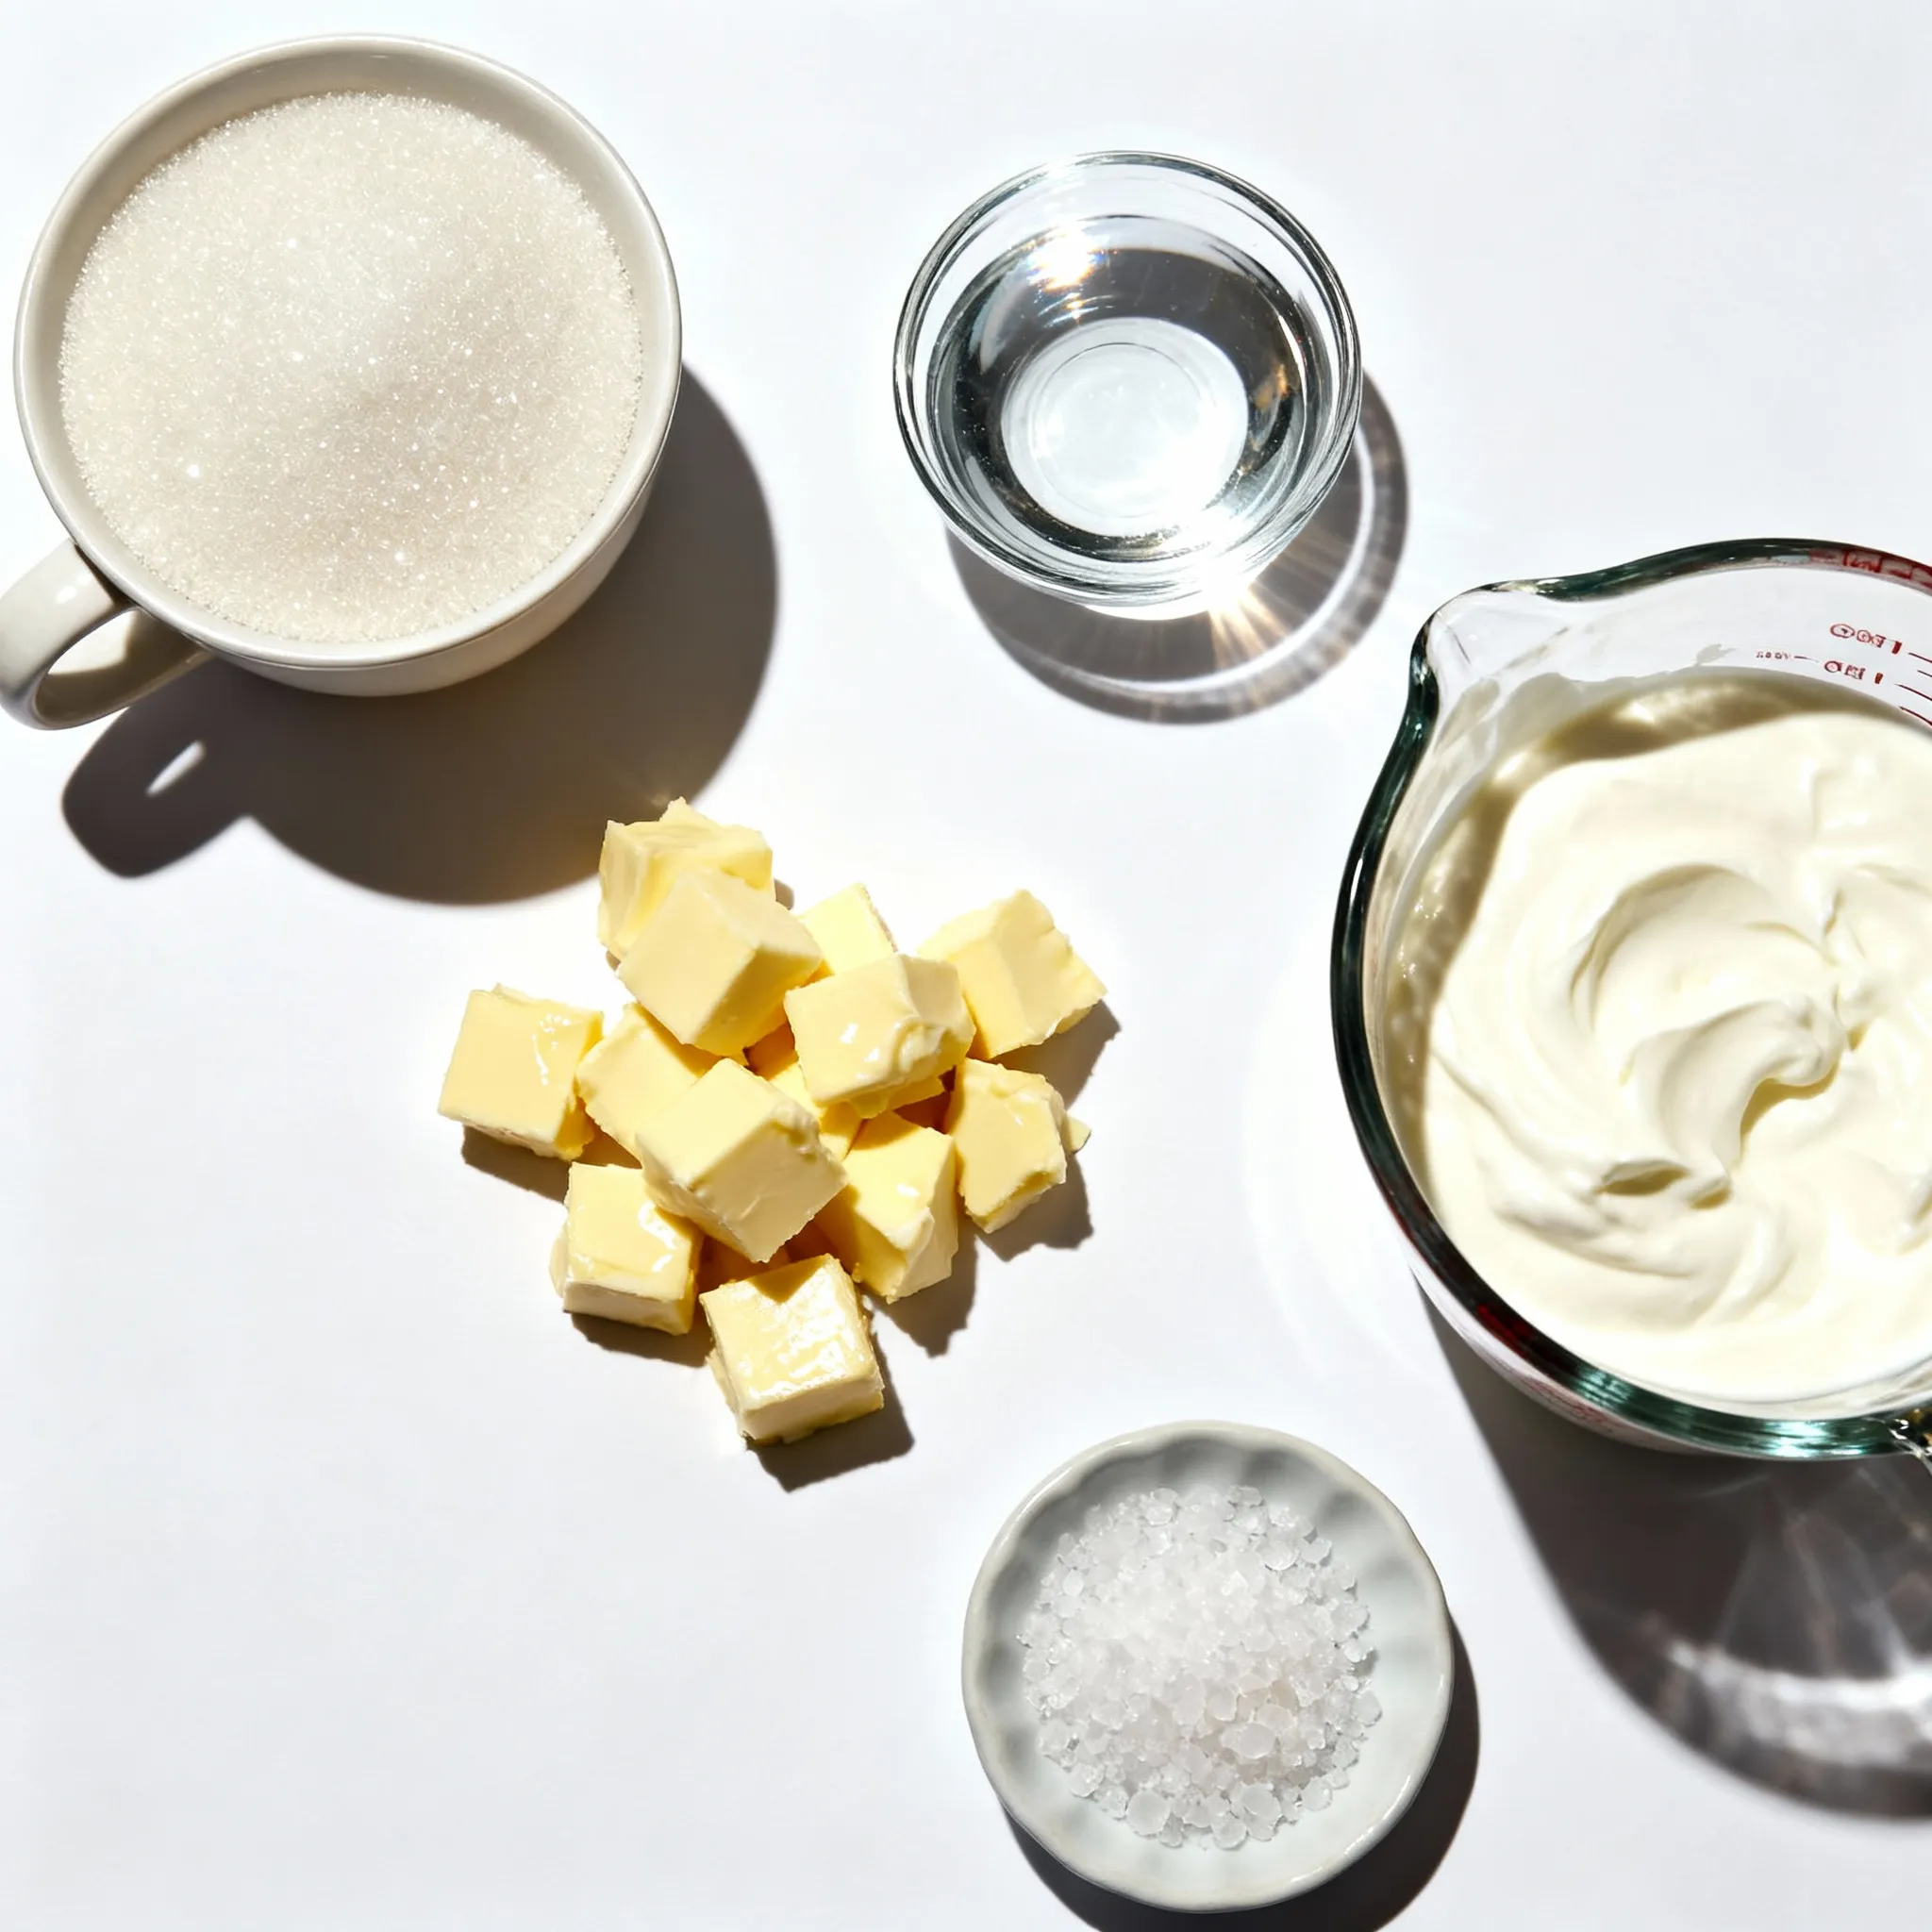
List of Ingredients
– 1 cup granulated sugar
– 1/4 cup water
– 1/2 cup unsalted butter, cut into small cubes
– 1/2 cup heavy cream, at room temperature
– 1 teaspoon sea salt (adjust to taste)
To make this easy salted butter caramel, you need just five simple ingredients. Each plays a key role in creating that rich flavor and smooth texture.
Granulated sugar is the star. It provides sweetness and helps form the caramel. Water helps dissolve the sugar at first. The unsalted butter adds creaminess and richness. The heavy cream creates that silky feel in your mouth. Finally, sea salt gives the caramel a delightful balance of sweet and salty.
Gathering these ingredients is simple. You may find most in your kitchen. Make sure to use quality butter and cream for the best taste. Always adjust the sea salt to your liking. You can add more or less depending on your taste buds.
Now, let’s have fun creating this sweet treat!
Step-by-Step Instructions
Preparation of Sugar Mixture
– Combine 1 cup of granulated sugar and 1/4 cup of water in a medium saucepan.
– Stir gently with a silicone spatula. Keep stirring until the sugar is fully dissolved.
Caramelization Process
– Now, increase the heat to medium-high. Bring the mixture to a boil.
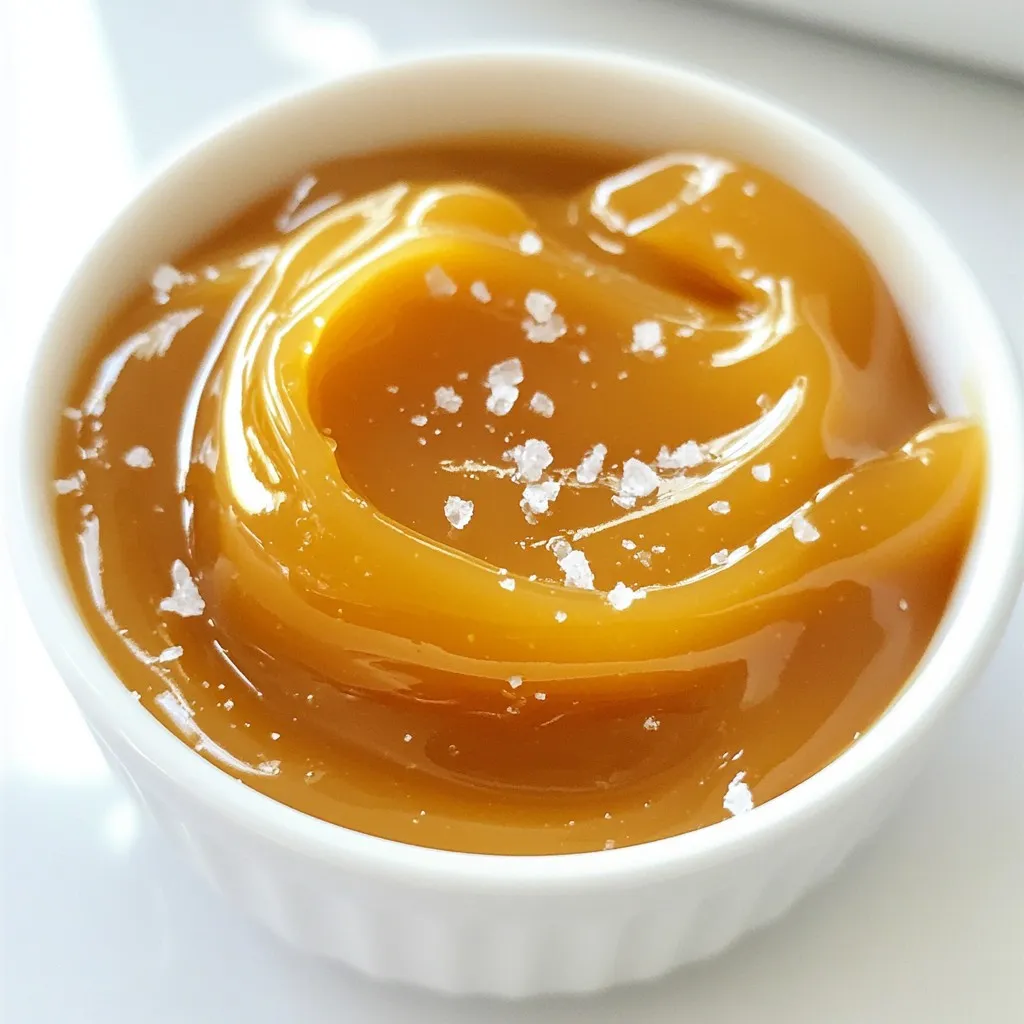
– Do not stir now. Watch closely as it boils for 6 to 8 minutes. The color should change to a rich, deep amber.
Adding Butter and Cream
– When it reaches the right color, take the saucepan off the heat.
– Carefully add 1/2 cup of diced unsalted butter. It will bubble up, so be cautious.
– Stir with a wooden spoon or spatula until the butter melts and mixes in smoothly.
– Gradually pour in 1/2 cup of heavy cream while stirring continuously. Expect some vigorous bubbling.
– Keep stirring until the caramel is smooth and shiny.
Final Seasoning and Cooling
– Now, add 1 teaspoon of sea salt to the caramel. Mix well and taste it.
– Adjust the salt to your liking.
– Let the caramel cool for a few minutes in the saucepan.
– Once cooled, transfer it into a glass jar or bowl for storage.
Tips & Tricks
Achieving Perfect Caramel Color
To get that great amber color, watch the boiling closely. Sugar cooks fast, and you want to catch it at the right moment. Once the mixture starts to boil, stop stirring. This helps the sugar caramelize well. Stirring can cause it to crystallize, which is not what we want.
Adjusting Sweetness and Saltiness
Before you store your caramel, do a taste test. This is key to finding the right balance of flavors. If it’s too sweet, add a bit more salt. If it’s too salty, add a little sugar. Keep tasting until you love it!
Essential Tools for Success
Using the right tools makes cooking easier. A medium saucepan is best for this recipe. A silicone spatula helps with stirring without scratching your pan. Wooden spoons are great for mixing in butter and cream. After cooking, wash these tools well to keep them in good shape. Always dry them properly to avoid rust or damage.
Pro Tips
- Use a Candy Thermometer: For precise caramelization, use a candy thermometer. Aim for a temperature of 340°F (170°C) for the perfect amber color without burning.
- Room Temperature Ingredients: Ensure your heavy cream is at room temperature before adding it to the caramel. This helps prevent the mixture from seizing and ensures a smooth integration.
- Store Properly: Allow the caramel to cool completely before sealing it in an airtight container. This will help maintain its silky texture and prevent crystallization.
- Experiment with Flavors: Consider infusing your caramel with different flavors such as vanilla, bourbon, or espresso by adding extracts or additional ingredients while cooking.
Variations
Flavored Salted Butter Caramel variations
You can change the flavor of your salted butter caramel easily. One way is to add a bit of vanilla extract. Just a teaspoon adds warmth and depth. If you want something unique, try bourbon. This gives your caramel a rich, smoky note.
For a spiced twist, consider cinnamon or espresso. Just a pinch of cinnamon brings warmth. Adding a little espresso gives a nice coffee flavor. Both these options make the caramel even more exciting!
Serving Suggestions
There are many ways to enjoy your salted butter caramel. You can drizzle it over desserts like cakes or ice cream. It makes everything taste better!
Using it as a dip is also fun. Try it with sliced apples or fresh strawberries. The sweet and salty mix is perfect with fruits. You can also serve it with baked goods like brownies or cookies. This caramel adds a special touch to any treat!
Storage Info
How to Store the Caramel
To keep your salted butter caramel fresh, use a glass jar or a sealable container. Glass jars work best because they do not react with the caramel. Make sure the caramel is cool before sealing the jar. Store it in a cool, dry place or the fridge. When stored properly, homemade salted butter caramel lasts about two weeks. If you want it to last longer, you can freeze it. Just make sure to use a freezer-safe container.
Reheating Tips
When you want to enjoy your caramel again, reheating it is easy. The best way is to use a microwave. Place the jar in the microwave and heat it for short bursts of 10 to 15 seconds. Stir in between to help it heat evenly. If the caramel seems too thick, you can add a tiny bit of warm cream to thin it out. This keeps the rich texture smooth and creamy, just like when you first made it.
FAQs
How do I know when my caramel is ready?
You want to watch for a deep amber color. Perfect caramel looks rich and glossy. It takes about 6 to 8 minutes of boiling. The mixture should bubble but not burn. If it smells burnt, it’s too late. You can stir gently at first, but stop once it boils.
Can I use salted butter instead of unsalted?
Yes, you can use salted butter. It will change the flavor a bit. Salted butter adds more saltiness, so taste as you go. If you use salted butter, cut back on added salt. This way, you balance the flavors just right.
What can I do if my caramel hardens?
If your caramel hardens, don’t panic! You can fix it. Just add a bit of water to a saucepan. Heat it on low and add the hardened caramel. Stir gently until it melts again. This method works well for thick caramel.
Is it possible to make this recipe dairy-free?
Yes, you can make dairy-free caramel! Use coconut cream instead of heavy cream. For butter, try coconut oil or a dairy-free spread. The taste will change, but it can still be tasty. Adjust the salt to match your flavor preference.
Making salted butter caramel is fun and rewarding. You learned about the key ingredients, such as sugar, butter, and cream. We explored the step-by-step process, from dissolving sugar to achieving the perfect color. I shared tips for balancing sweetness and saltiness, plus ideas for flavor twists.
Ultimately, whether you drizzle it over desserts or enjoy it plain, this caramel offers endless possibilities. With practice and attention, you can create a delicious treat that impresses everyone. Enjoy your caramel journe