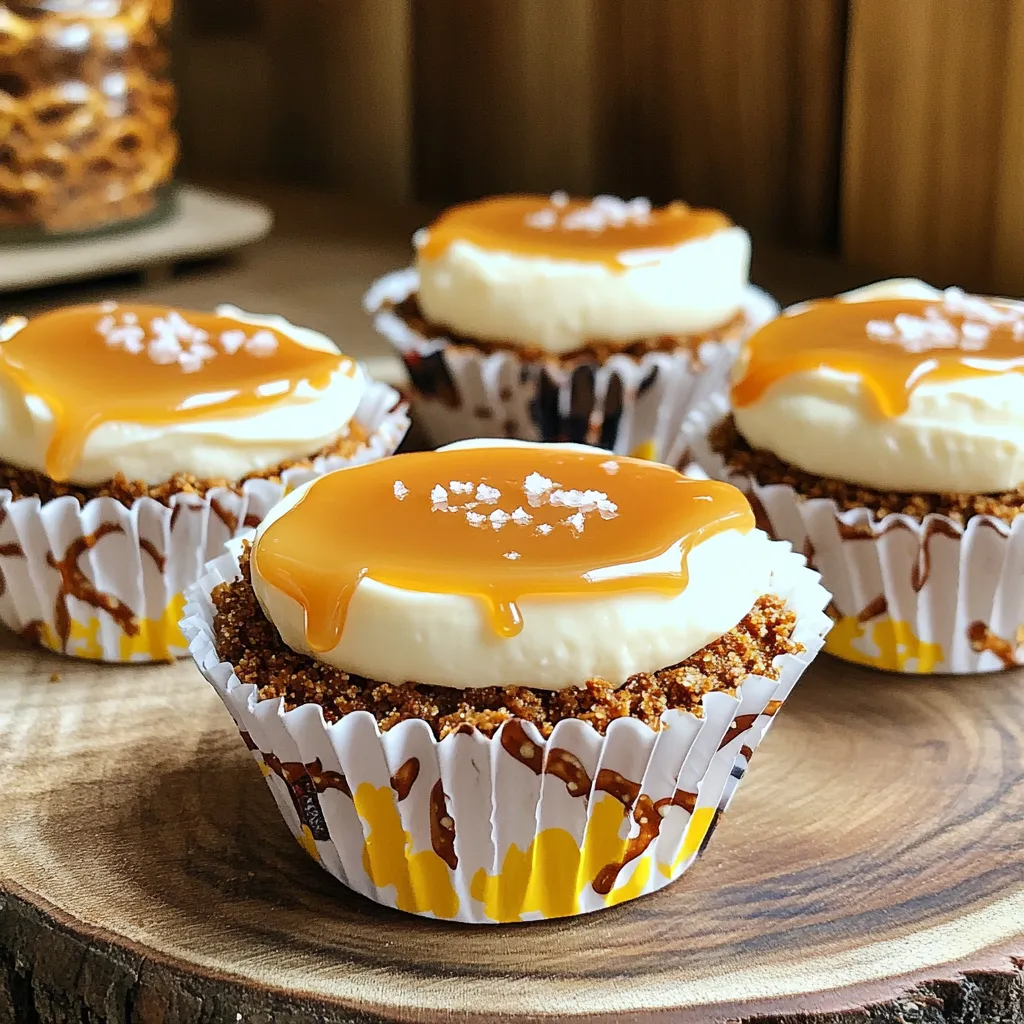
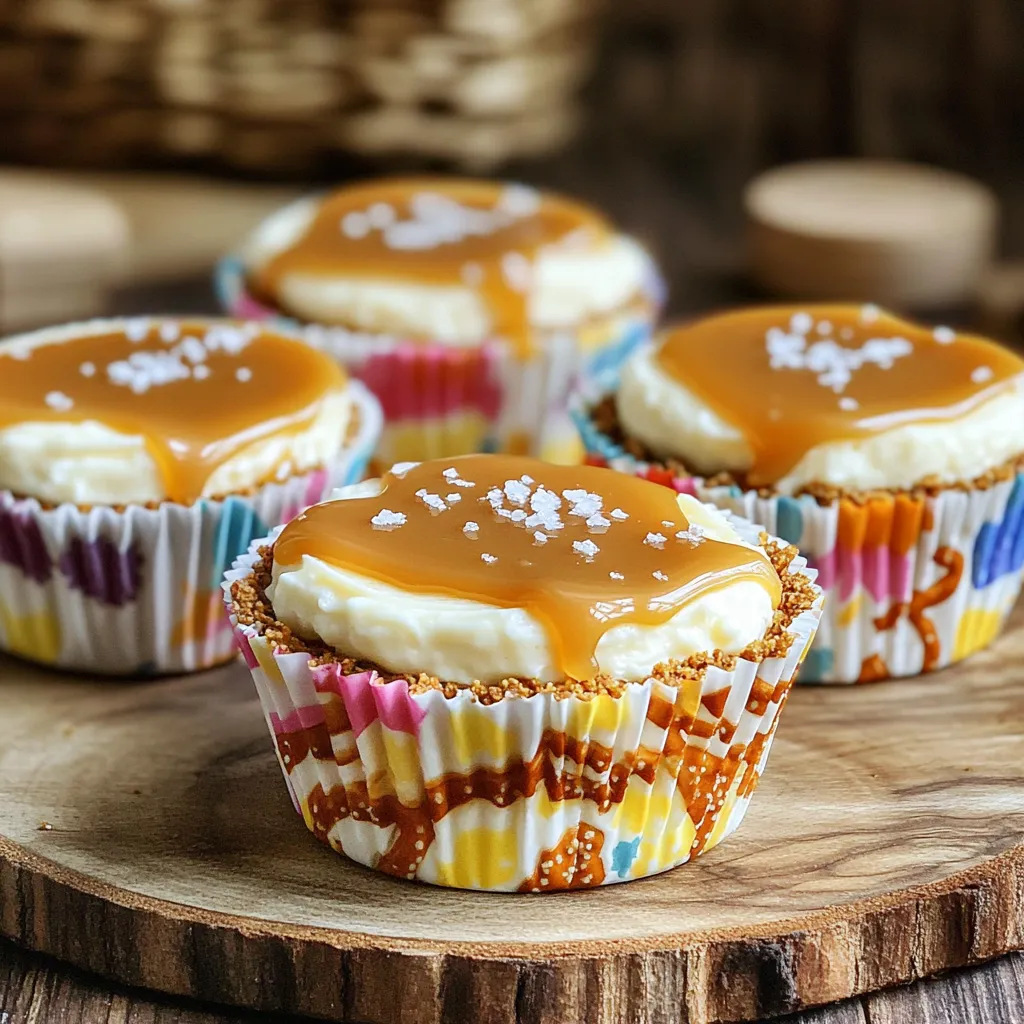
Ready to indulge in a sweet treat that’s as easy as it is tasty? My No-Bake Salted Caramel Pretzel Cheesecake Cups are the perfect blend of salty and sweet. With a crunchy pretzel crust and creamy cheesecake filling, they’re ideal for any occasion. Whether you’re a beginner or a seasoned chef, you can whip these up in no time. Let’s dive into the ingredients and make this delightful dessert together!
Ingredients
List of Required Ingredients
To make these tasty cheesecake cups, gather these items:
– 1 cup crushed pretzels
– 1/4 cup unsalted butter, melted
– 2 tablespoons brown sugar
– 8 oz cream cheese, softened
– 1/2 cup powdered sugar
– 1 teaspoon vanilla extract
– 1 cup heavy whipping cream
– 1/2 cup caramel sauce, plus extra for drizzling
– Sea salt, for garnish
Optional Ingredients for Customization
You can add your own twist with these options:
– Chopped nuts for crunch
– Chocolate chips for sweetness
– Fresh fruit like strawberries or bananas
– A dash of cinnamon for warmth
Substitutions and Recommendations
If you need to swap some items, here are some ideas:
– Use gluten-free pretzels for a gluten-free treat.
– Swap cream cheese for a vegan cream cheese for a plant-based version.
– Use a sugar substitute if you want a low-sugar option.
– Try using a store-bought crust if you’re short on time.
These options help you make this dessert fit your taste and needs. Enjoy the process and have fun with your own ideas!
Step-by-Step Instructions
Preparing the Pretzel Crust
To start, grab a medium bowl. Add 1 cup of crushed pretzels, 1/4 cup melted unsalted butter, and 2 tablespoons brown sugar. Mix these until they look like wet sand. This gives the crust a nice sweet and salty bite. Next, line a muffin tin with cupcake liners. Divide the pretzel mix evenly among them. Press down firmly to make a compact crust. This helps it hold up later. Chill the muffin tin in the fridge for about 15 minutes.
Making the Cheesecake Filling
Now, take a large bowl and add 8 ounces of softened cream cheese. Beat it with an electric mixer until smooth. This takes about 2 minutes. Slowly add 1/2 cup of powdered sugar and 1 teaspoon of vanilla extract. Keep mixing until there are no lumps. In another bowl, pour in 1 cup of heavy whipping cream. Use clean beaters to whip it until stiff peaks form. This means it is ready! Gently fold the whipped cream into the cream cheese mix. Be careful not to deflate it.
Assembling the Cheesecake Cups
Spoon the cheesecake filling into the pretzel crusts. Smooth the tops with a spatula. You want them nice and even. Next, drizzle 1/2 cup of caramel sauce over each cheesecake cup. Let it cascade down the sides for a beautiful look. Finally, sprinkle a pinch of sea salt on top. This adds the perfect sweet and salty touch.
Chilling and Serving Instructions
Cover the muffin tin with plastic wrap. Place it in the fridge for at least 2 hours. This helps the cheesecake set well. When ready to serve, take them out and enjoy! For a fun touch, serve them in the liners on a platter. You can add a mini pretzel on top for extra flair. Drizzle more caramel down the sides for a stunning finish.
Tips & Tricks
How to Achieve the Best Whipped Cream Consistency
To get the best whipped cream, start with cold cream. Use heavy whipping cream for rich results. Pour it into a clean bowl. Beat it on medium speed until you see soft peaks. Then, increase the speed to high. Keep beating until stiff peaks form. Be careful not to overbeat, as it can turn grainy. The perfect whipped cream adds fluffiness to your cheesecake cups.
Storing and Serving Suggestions
Store your cheesecake cups in the fridge. Cover them with plastic wrap to keep them fresh. They can last up to five days. Serve them cold for the best taste. If you want a fun touch, add a mini pretzel on top. Drizzle extra caramel sauce just before serving for a lovely look.
Enhancing Flavor with Additional Toppings
You can enhance these cheesecake cups in many ways. Try adding fresh fruit like sliced strawberries or bananas. Chopped nuts add a nice crunch too. For a chocolate twist, sprinkle mini chocolate chips on top. Each topping can give you a new flavor experience. Enjoy mixing and matching your favorite toppings!
Variations
Flavor Variations
You can play with flavors in your cheesecake cups. Try adding chocolate or peanut butter. To make chocolate cheesecake, mix in melted chocolate with the cream cheese. For a peanut butter twist, add creamy peanut butter to the filling. Both options add rich flavors and fun textures. You can even combine flavors for a unique taste!
Alternative Crust Ideas
The pretzel crust is great, but you can switch it up. Use crushed graham crackers for a classic taste. Oreo cookies also make a tasty base. Just crush them and mix with melted butter. You can even use crushed nuts for a gluten-free option. Each crust brings a new twist to your cheesecake cups.
Dietary Adjustments
If you need gluten-free or vegan options, it’s easy to adapt. For gluten-free, swap pretzels with gluten-free pretzels or nuts. Use a dairy-free cream cheese and coconut cream for a vegan filling. Both options keep the dessert tasty while meeting dietary needs. Your friends and family will love the flavors, no matter their diet!
Storage Info
Best Practices for Storing Cheesecake Cups
To keep your no-bake salted caramel pretzel cheesecake cups fresh, store them in the fridge. Use an airtight container or cover them tightly with plastic wrap. This helps to prevent any odors from the fridge from seeping in. If you used cupcake liners, leave them in the liners for easy serving.
How Long the Dessert Lasts in the Fridge
These cheesecake cups are best enjoyed fresh, but they can last up to five days in the fridge. The key is to keep them sealed well. Over time, the pretzel crust may soften, but the flavor will still shine through.
Freezing Instructions and Tips
You can freeze these cheesecake cups for up to a month. To freeze, wrap each cup tightly in plastic wrap. Place them in a freezer-safe container to avoid freezer burn. When ready to enjoy, thaw them in the fridge overnight. Avoid refreezing after thawing, as this can change the texture.
FAQs
Can I use a different type of cream cheese?
Yes, you can use a different cream cheese. Brands like Neufchâtel or vegan cream cheese work well. Just ensure it is softened before mixing. This keeps your cheesecake smooth and creamy. Cream cheese adds richness. So, any swap can change the taste and texture. Feel free to experiment!
How long do these cheesecake cups need to chill?
These cheesecake cups need to chill for at least 2 hours. This allows the filling to set properly. Chilling helps the flavors meld together. If you have time, letting them chill longer is even better. They will taste extra delicious after more time in the fridge.
Can I make these cheesecake cups ahead of time?
Absolutely! You can make these cheesecake cups a day in advance. Just store them in the fridge. Cover them well with plastic wrap to keep them fresh. This saves you time on the day you want to serve them. You’ll impress your guests with this easy planning!
We covered everything to make delicious cheesecake cups, from ingredients to storage. You learned about the best crusts, fillings, and even variations to try. I shared tips for perfect whipped cream and tasty toppings. These cups are easy to customize for any taste. Remember, they store well in the fridge and can even be frozen. Enjoy creating your own version of this fun dessert that everyone will love!