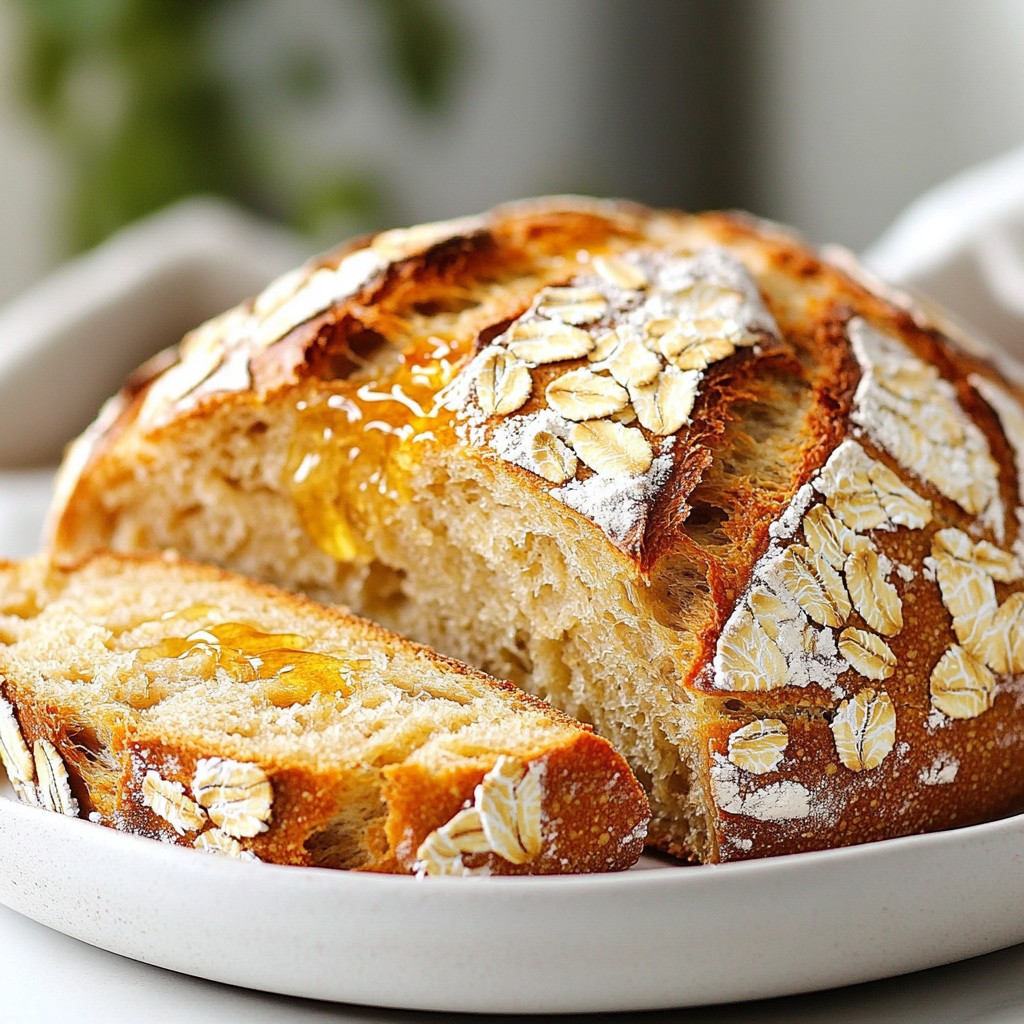
Are you ready to bake a delicious bread without all the fuss? This No Knead Honey Oat Bread recipe is simple, tasty, and perfect for any meal. With just a few ingredients and minimal effort, you can enjoy warm, fresh bread right from your oven. I’ll guide you through every step, so let’s dive into this easy baking adventure and create something wonderful together!
Why I Love This Recipe
- Effortless Preparation: This no-knead bread recipe is incredibly easy to follow, making it perfect for beginners and busy bakers alike.
- Deliciously Nutty Flavor: The combination of rolled oats and honey creates a delightful, slightly sweet flavor that pairs well with both sweet and savory toppings.
- Long Rise Time: Allowing the dough to rest for 12 to 18 hours enhances the flavor and texture, resulting in a beautifully airy loaf.
- Versatile Serving Options: This bread can be enjoyed warm with butter, used for sandwiches, or served as a side to soups and salads.
Ingredients
List of Ingredients
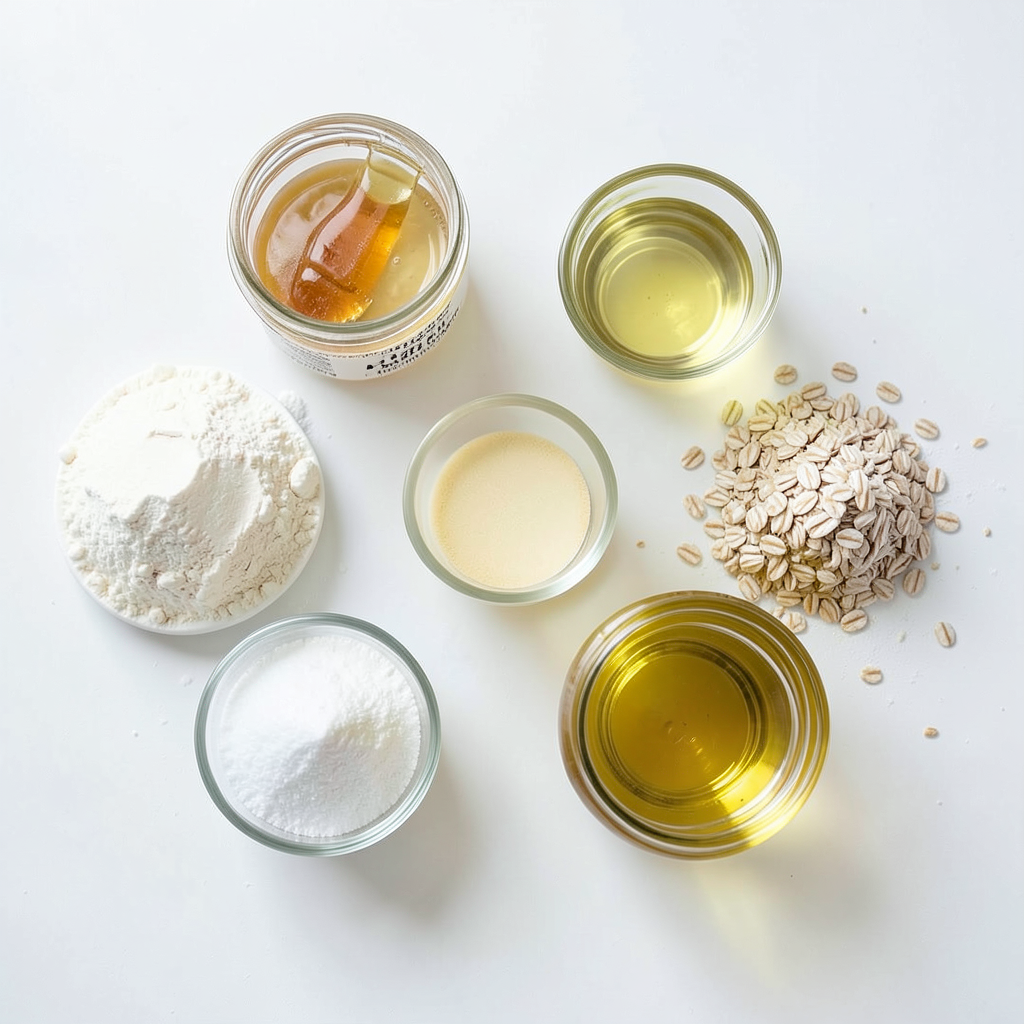
- 2 cups all-purpose flour
- 1 cup rolled oats
- 2 teaspoons instant yeast
- 1 teaspoon salt
- 2 tablespoons honey
- 1 ½ cups warm water (approx. 110°F or 43°C)
- 1 tablespoon olive oil
- Extra oats for topping (optional)
To make no knead honey oat bread, you need simple ingredients. Each one adds flavor and texture. All-purpose flour gives the bread its base. Rolled oats create a chewy bite. Instant yeast helps the dough rise without kneading. Salt enhances the taste. Honey adds a touch of sweetness. Warm water is key to activating the yeast. Olive oil keeps the bread moist. Extra oats on top give a nice look.
Gather all ingredients before you start. This makes the process smooth. Measure each item carefully. Fresh ingredients yield the best results. Using warm water around 110°F helps the yeast work well. If you have everything ready, you will enjoy making this bread!
Step-by-Step Instructions
Mixing the Dry Ingredients
In a large mixing bowl, combine the following dry ingredients:
- 2 cups all-purpose flour
- 1 cup rolled oats
- 2 teaspoons instant yeast
- 1 teaspoon salt
Use a whisk or fork to mix them well. This step helps ensure the yeast and salt are evenly spread.
Preparing the Wet Ingredients
In a separate bowl, pour in 1 ½ cups of warm water. Add:
- 2 tablespoons honey
- 1 tablespoon olive oil
Stir until the honey fully dissolves in the water. This mix adds moisture and sweetness to your dough.
Forming the Dough
Now, slowly pour the wet mixture into the dry ingredients. Use a wooden spoon or spatula to stir until a shaggy, sticky dough forms. There is no need to knead here; the magic happens during rising.
First Rise
Cover the bowl tightly with plastic wrap or a damp cloth. Let the dough rest at room temperature for 12 to 18 hours. This long rise allows the dough to grow and develop bubbles.
Shaping the Dough
After the first rise, lightly flour a clean work surface. Gently transfer the risen dough onto this surface. With floured hands, shape it into a round ball. Be gentle to avoid deflating too much.
Second Rise
Place the shaped dough on a parchment-lined baking sheet or in a preheated cast-iron skillet. Cover it again with a cloth. Let it rest for another 30 minutes to rise once more.
Baking the Bread
Preheat your oven to 450°F (230°C). If using a Dutch oven, place it in the oven to heat up. Once preheated, carefully remove the pot and transfer the dough into it. If you're using a baking sheet, place it directly in the oven.
For a nice touch, sprinkle extra oats on top before baking. Bake for 30 to 35 minutes until the bread is golden brown and sounds hollow when tapped on the bottom.
Tips & Tricks
Perfecting the Dough Texture
To get the right shaggy consistency, start with a bowl. Mix 2 cups of flour and 1 cup of oats. Add 2 teaspoons of yeast and 1 teaspoon of salt. Stir well with a whisk. Then, combine the wet mix with the dry. You want it to be sticky and lumpy, not smooth. This texture helps the bread rise nicely without kneading.
Ensuring Proper Rising
Room temperature is key for rising. Let the dough sit for 12 to 18 hours. If your kitchen is cold, the rise may take longer. A warm spot helps the yeast work faster. If you can, cover the bowl with a damp cloth to keep it warm.
Baking Techniques
Using a Dutch oven gives you a great crust. Preheat it in the oven for best results. If you use a baking sheet, place it directly in the oven. Baking in a hot pot traps steam, which keeps the bread moist. Both methods work well, but a Dutch oven can give you a better crust.
Serving Suggestions
This bread pairs well with many spreads. Try it warm with butter or honey. Jams like strawberry or raspberry also taste great. For a savory option, serve it with cheese. You can arrange slices on a wooden board for a nice look. Enjoy your fresh bread!
Pro Tips
- Hydration is Key: Ensure that your warm water is at the right temperature (about 110°F or 43°C) to activate the yeast effectively.
- Longer Rise Equals Better Flavor: Allowing the dough to rest for 12 to 18 hours develops a deeper flavor and texture.
- Handling the Dough: When shaping the dough, be gentle to maintain the air bubbles formed during the rise, which contribute to the bread's lightness.
- Check for Doneness: Tap the bottom of the bread; if it sounds hollow, it’s done! This is crucial for achieving a perfect crust.
Variations
Adding Nuts and Seeds
You can make your no knead honey oat bread even better by adding nuts and seeds. I love using walnuts for a crunchy texture. They add a nice nutty flavor. You can also try sunflower seeds. They give a great pop of taste and are rich in nutrients. Flaxseeds are another smart choice. They are tiny but pack a lot of health benefits. Just mix about a half cup of any of these into your dough. This change makes the bread more hearty and filling.
Flavored Honey Options
Using different types of honey can change the flavor of your bread. For example, clover honey is mild and sweet. It works well if you like a light taste. If you want something stronger, try buckwheat honey. It has a rich, earthy flavor. You can even use flavored honey, like cinnamon or vanilla. These add a fun twist to your bread. Just remember, the type of honey you choose will change the taste, so pick one you enjoy!
Gluten-Free Alternative
If you need a gluten-free option, you can still enjoy this bread. Start by using gluten-free flour instead of all-purpose flour. Look for a mix that has xanthan gum. This helps the bread rise and hold together. You can also try oat flour, but make sure it’s certified gluten-free. Follow the same steps in the recipe, and let the dough rise just like before. Enjoy your gluten-free honey oat bread without missing out!
Storage Info
Best Practices for Bread Storage
To keep your No Knead Honey Oat Bread fresh, store it in a cool, dry place. Use a bread bag or wrap it in a clean kitchen towel. This method helps maintain moisture while preventing it from getting too soft. Avoid plastic wrap, as it can trap moisture and make the crust soggy. If you have leftovers, slice the bread to make it easier to enjoy later.
Freezing Instructions
If you want to freeze your bread, cool it completely first. Then, wrap it tightly in plastic wrap or aluminum foil. Place it in a freezer-safe bag or container. This will protect it from freezer burn. To reheat, take the bread out and let it thaw at room temperature. For a warm slice, pop it in the oven at 350°F (175°C) for about 10 minutes.
Shelf Life
At room temperature, this bread stays fresh for about 3 to 5 days. If you store it in the fridge, it can last up to a week, but the texture may change. For the best taste and texture, I recommend eating it within a few days. If you freeze it, it can last for up to 3 months. Enjoy the freshness when you defrost and reheat it!
FAQs
Can I use quick oats instead of rolled oats?
You can use quick oats, but I recommend rolled oats. Rolled oats give the bread a nice texture. Quick oats can absorb water too fast, making the dough runny. The chewy bite from rolled oats is worth it. If you want a heartier loaf, stick with rolled oats.
How do I make my bread crustier?
To get a crusty loaf, try a few tricks. Bake your bread in a hot pot, like a Dutch oven. This method traps steam, which helps create a crispy crust. You can also place a pan with water in the oven. The steam will help your bread rise and crisp up.
What can I do if my bread doesn't rise?
If your bread doesn’t rise, check these causes. First, make sure your yeast is fresh. Old yeast won't work well. Also, the water should be warm but not hot. If it’s too hot, it can kill the yeast. Lastly, give the dough enough time to rise. Sometimes, it just needs more patience.
Can I add additional flavorings to this recipe?
Absolutely! You can add herbs or spices for extra flavor. Try adding a teaspoon of rosemary or thyme for a savory twist. For something sweet, mix in cinnamon or nutmeg. You can even add nuts or seeds for crunch. The options are endless!
This blog post covers how to make delicious honey oat bread. You learned about the ingredients and the simple steps to prepare it. We shared tips for perfecting the dough and baking techniques to enhance your bread. Plus, you discovered variations like adding nuts or making it gluten-free. Storing tips ensure your bread stays fresh, and our FAQs answered common questions. Enjoy the process of making this bread, and let your creativity shine in the kitchen!