


LATEST RECIPES


LET'S GET COOKING!
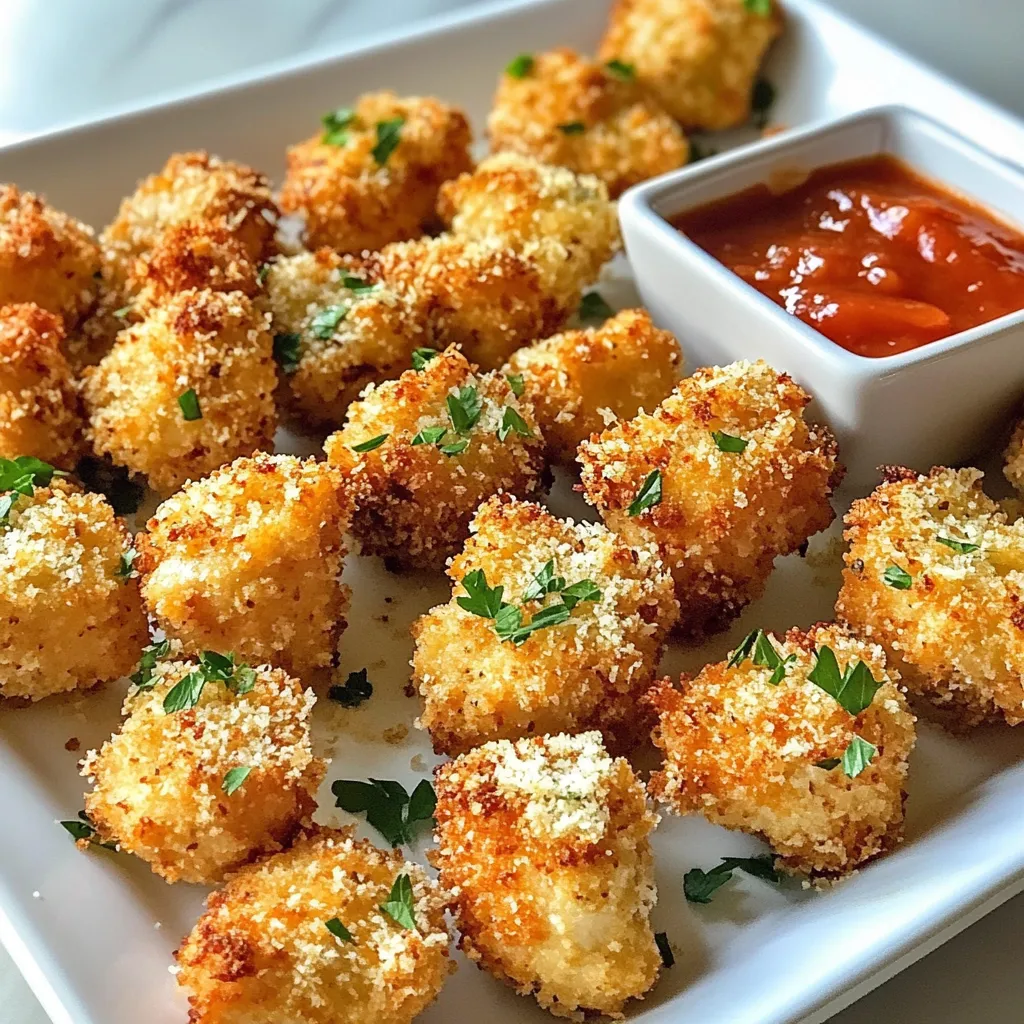
Garlic Parmesan Chicken Bites Tasty and Easy Recipe
Are you ready to transform your dinner into a flavor explosion? These Garlic Parmesan Chicken Bites are not just tasty; they’re also super easy to...
Read Full Recipe →