


LATEST RECIPES


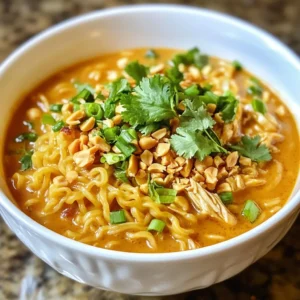


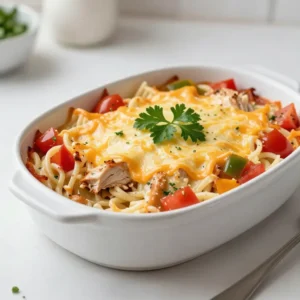
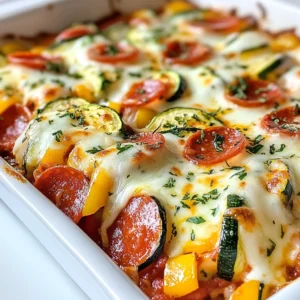
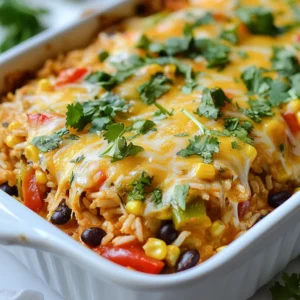
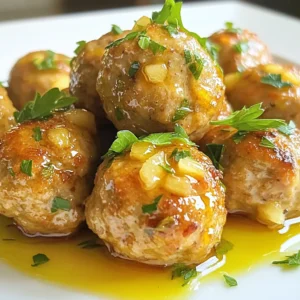
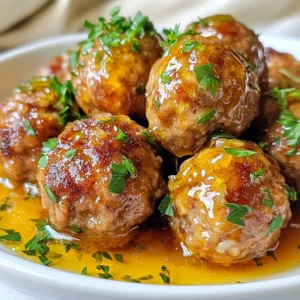

LET'S GET COOKING!
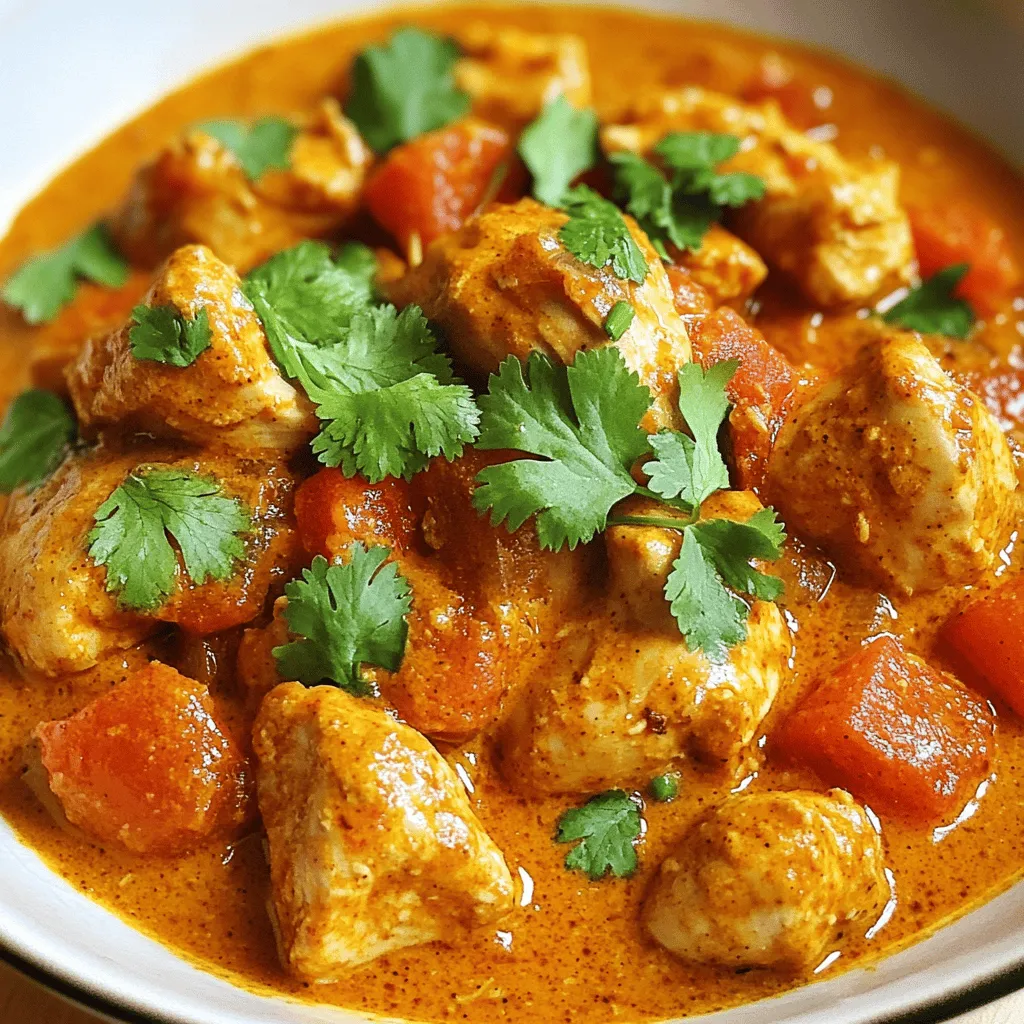
Chicken Tikka Masala by Gordon Ramsay Style Recipe
Are you ready to elevate your cooking skills with a classic dish? In this Chicken Tikka Masala recipe, inspired by Gordon Ramsay’s culinary genius, you’ll...
Read Full Recipe →