

LATEST RECIPES


LET'S GET COOKING!
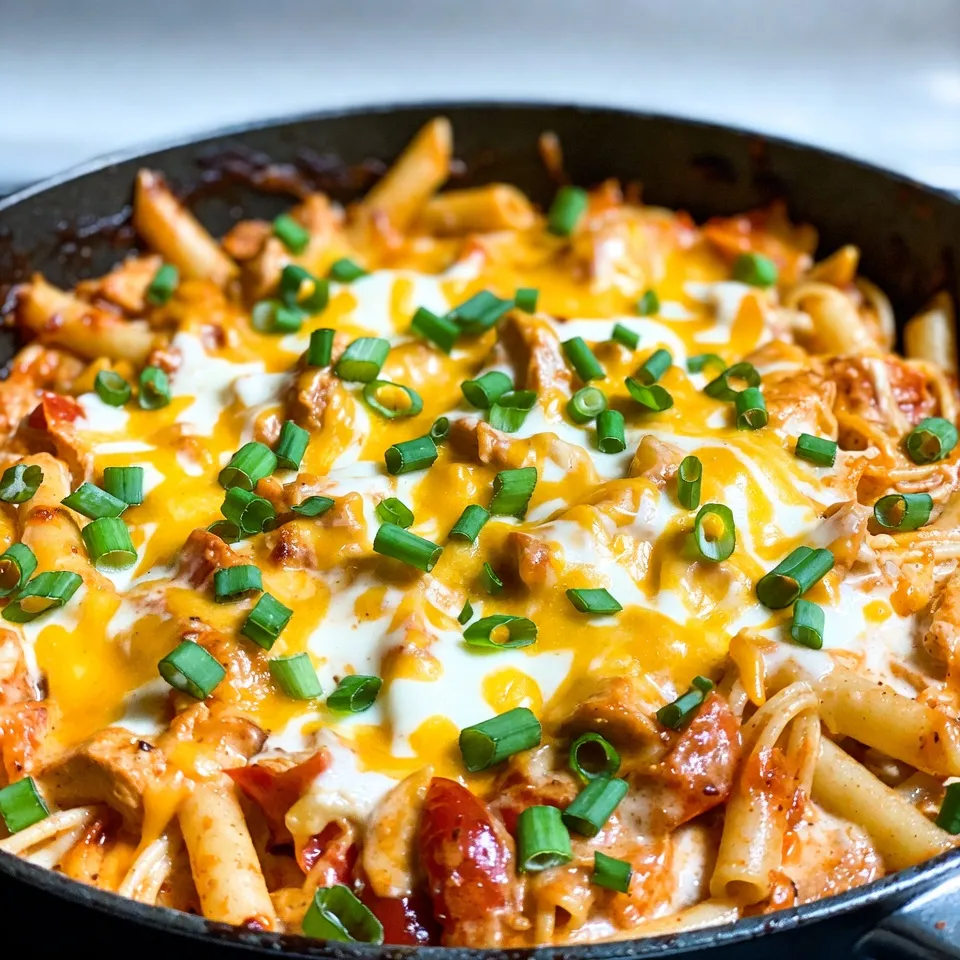
Cheesy Rotel Chicken Spaghetti Comfort Food Classic
Are you ready to dive into a bowl of Cheesy Rotel Chicken Spaghetti? This comfort food classic is creamy, cheesy, and packed with flavor! With...
Read Full Recipe →