Are you ready to spice up your dinner routine? These Zesty Tex-Mex Chicken Stuffed Bell Peppers are a fun and tasty way to enjoy a healthy meal. Packed with ground chicken, black beans, and quinoa, each bite bursts with flavor. Plus, they’re simple to make and perfect for busy nights! Let’s dive into this colorful recipe that will delight your taste buds and impress your family.
Why I Love This Recipe
- Colorful Presentation: The variety of bell pepper colors makes this dish visually appealing and fun to serve.
- Healthy Ingredients: With ground chicken, quinoa, and plenty of veggies, this recipe is nutritious and satisfying.
- Customizable Flavors: You can adjust the spices to suit your taste, making it perfect for everyone.
- Easy to Make: This recipe is straightforward and can be prepared in under an hour, perfect for a busy weeknight.
Ingredients
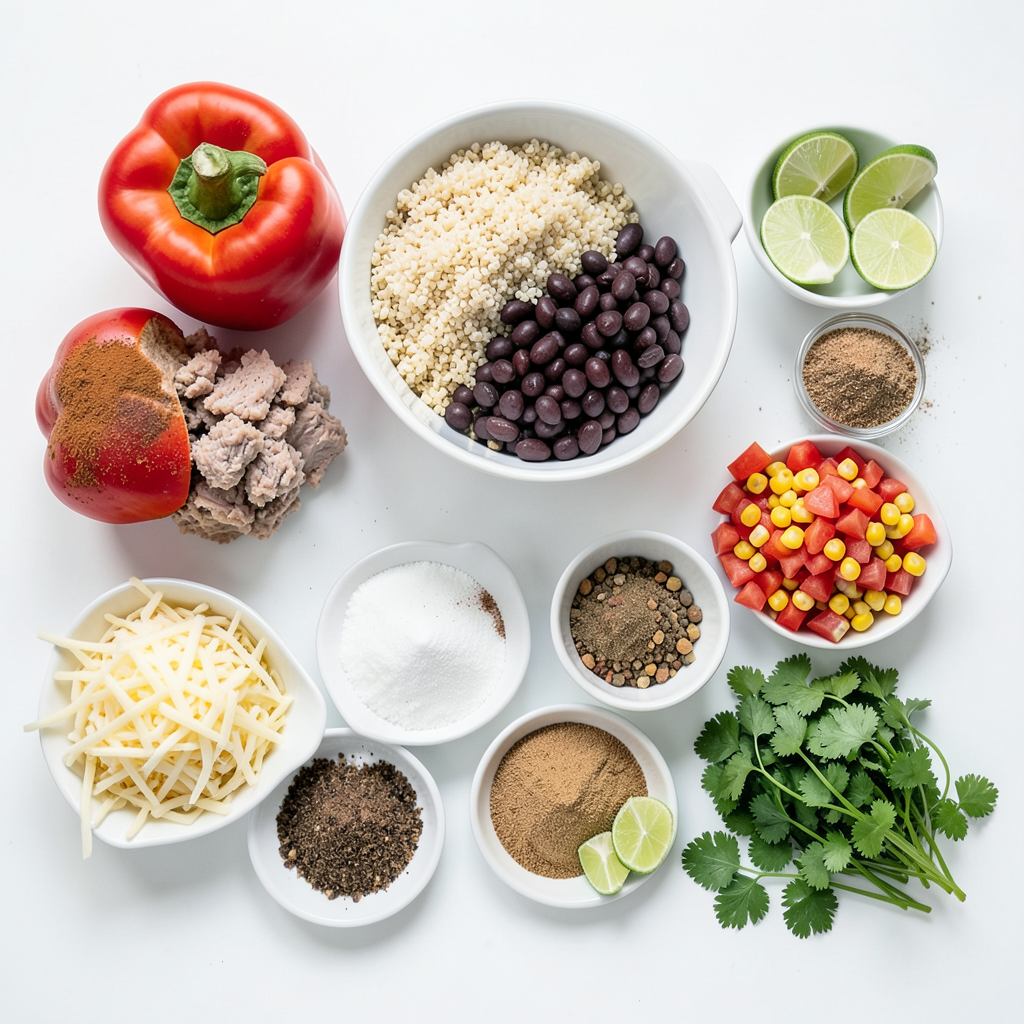
List of Ingredients
- 4 large bell peppers
- 1 pound ground chicken
- 1 cup cooked quinoa
- 1 can black beans (15 oz)
- 1 cup corn
- 1 teaspoon ground cumin
- 1 teaspoon chili powder
- 1/2 teaspoon garlic powder
- 1/2 teaspoon onion powder
- 1 cup diced tomatoes
- 1 cup shredded cheese
- Salt and black pepper
- Fresh cilantro
- Lime wedges
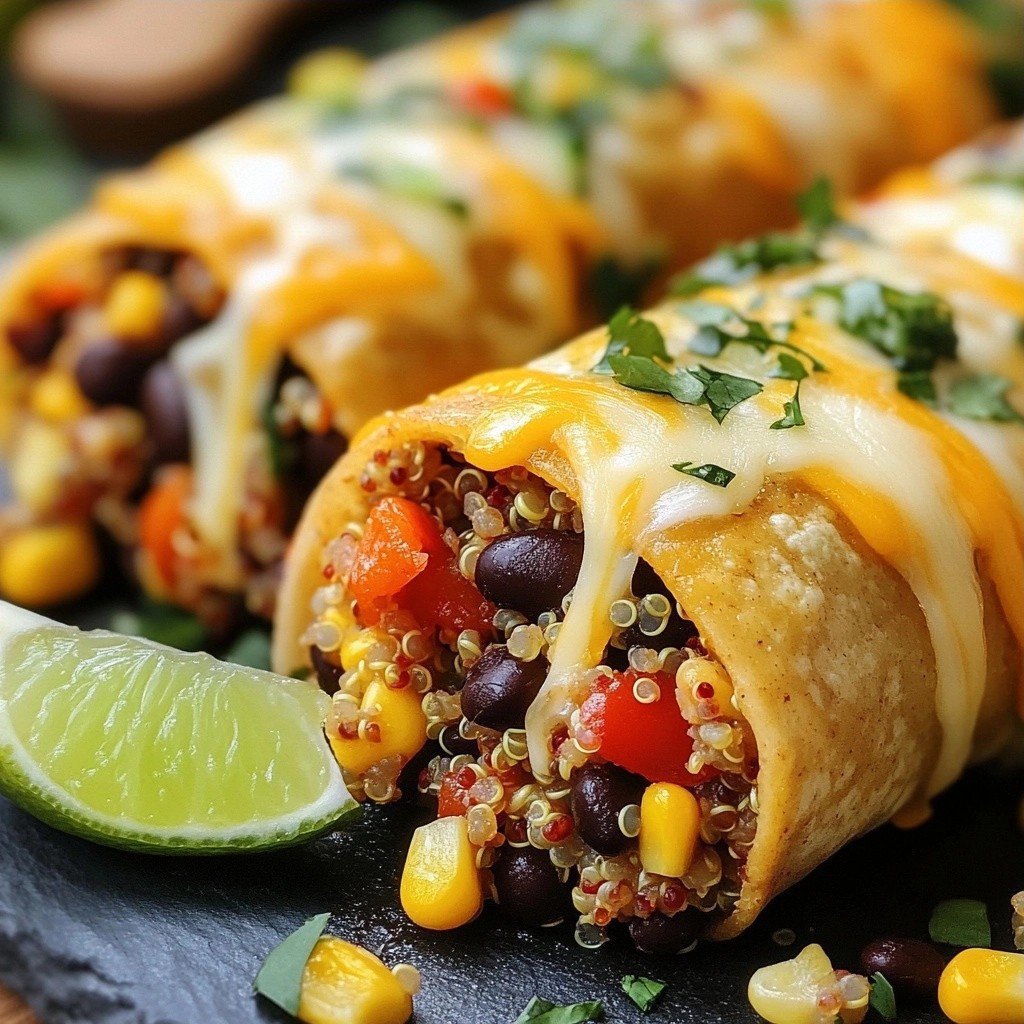
Zesty Tex-Mex chicken stuffed bell peppers shine with vibrant colors and bold flavors. The bell peppers serve as a crunchy, sweet shell for a savory filling. Ground chicken provides a healthy protein base. Quinoa adds a nice texture, making this dish hearty.
Black beans and corn enhance the flavors. They bring in fiber and sweetness, making the filling even better. The spices, like cumin and chili powder, add warmth and depth to each bite. Garlic and onion powder offer a savory kick that rounds out the taste.
Diced tomatoes keep the filling moist and add freshness. Shredded cheese melts beautifully on top, creating a cheesy crust that is hard to resist. Finally, fresh cilantro and lime wedges add a zesty finish, brightening the dish.
These ingredients combine to make a delicious and satisfying meal. They offer a nice balance of health and taste, perfect for any table.
Step-by-Step Instructions
Prepping the Peppers
- Preheat oven to 375°F (190°C).
- Cut the tops off the bell peppers.
- Remove seeds and white membranes.
- Stand the peppers upright in a baking dish.
Cooking the Chicken Filling
- In a large skillet, cook ground chicken over medium heat.
- Break the chicken apart with a spatula.
- Cook for about 5-7 minutes until no longer pink.
- Add ground cumin, chili powder, garlic powder, salt, and pepper.
- Stir well and cook for 2 more minutes until fragrant.
- Add diced tomatoes, black beans, corn, and quinoa.
- Mix everything and heat for 3-5 minutes.
Assembling and Baking
- Remove the skillet from heat.
- Fold in half of the shredded cheese until it melts.
- Spoon the filling into each pepper.
- Press down slightly to pack the filling.
- Top each pepper with the remaining cheese.
- Cover the dish with aluminum foil.
- Bake for 25 minutes, then remove foil.
- Continue baking for another 10-15 minutes until the peppers are tender.
Tips & Tricks
Best Practices for Cooking
To ensure the chicken is fully cooked, use a meat thermometer. The internal temperature should reach 165°F. This step keeps the meat safe to eat and juicy.
If you like spice, adjust the chili powder. Start with one teaspoon, then add more if you want heat. Taste the filling before you stuff the peppers.
Enhancing Flavor
For extra flavor, try toppings like sour cream, avocado, or sliced jalapeños. These add creaminess and a kick.
Pair the stuffed peppers with dips like salsa or guacamole. These sauces complement the Tex-Mex flavors well.
Presentation Tips
Arrange the peppers upright in a colorful baking dish. This makes them look inviting and appetizing.
Garnish with fresh cilantro leaves for color and taste. A squeeze of lime adds a zesty finish.
Pro Tips
- Choosing the Right Peppers: Opt for bell peppers that are firm and glossy, avoiding any with soft spots or wrinkles for the best texture and flavor.
- Spice Level Adjustment: Feel free to adjust the chili powder to your preferred spice level, or add a dash of hot sauce to the filling for an extra kick.
- Make-Ahead Option: You can prepare the filling a day in advance and store it in the fridge. Just stuff the peppers and bake when you're ready to serve.
- Garnish for Freshness: Adding fresh cilantro and lime juice just before serving enhances the flavors and adds a refreshing touch to the dish.
Variations
Alternative Protein Options
You can switch up the protein in these stuffed peppers. Ground turkey or beef work great. Both add a rich flavor. For a lighter option, you can use ground turkey. It keeps the dish lean but tasty.
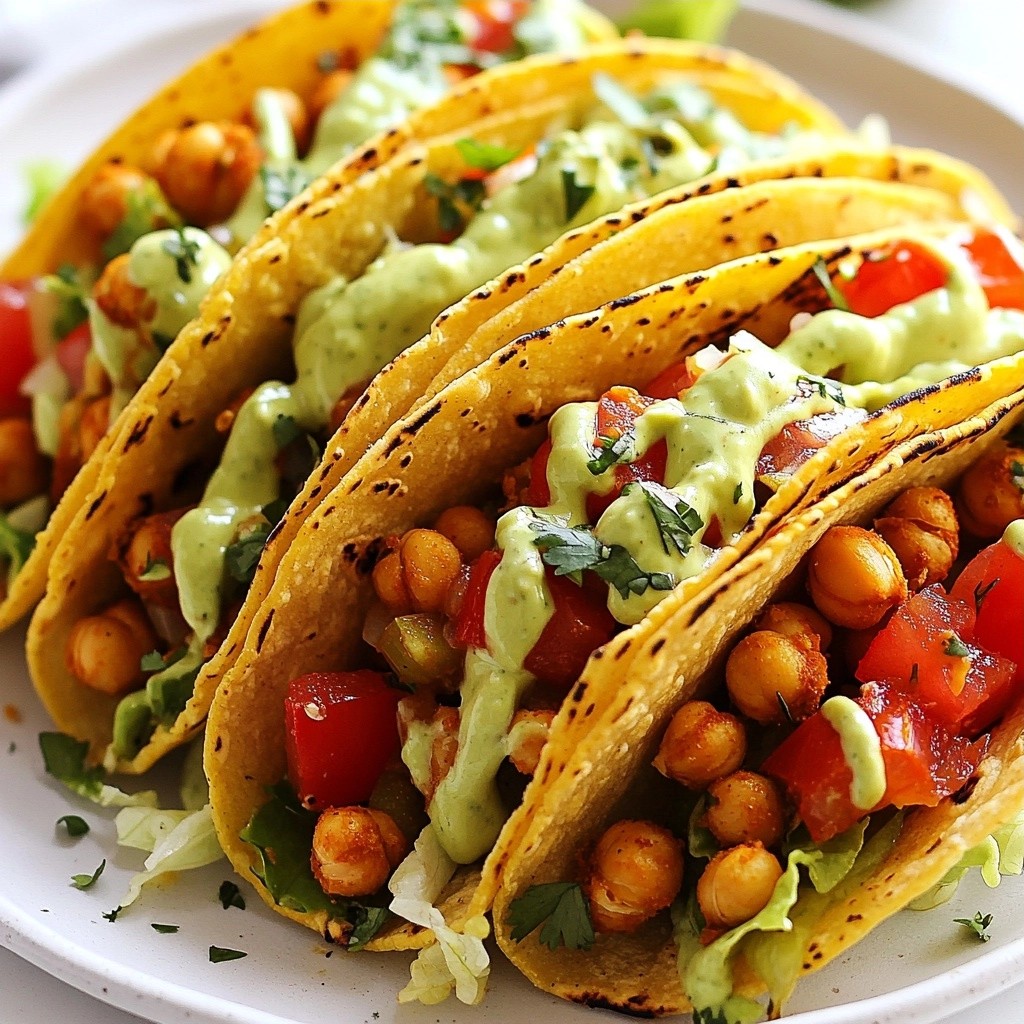
If you're looking for vegetarian options, load up on beans and veggies. Use extra black beans or kidney beans. You can also add corn or zucchini for more texture. This keeps the peppers satisfying without meat.
Flavor Variations
Want to change the flavor? Try adding Southwest spices. A bit of paprika or cumin can change the whole vibe. It adds warmth and depth to the dish.
Cheese is another area where you can experiment. Instead of sharp cheddar, try Monterey Jack or pepper jack. These cheeses melt beautifully and add a different taste. You can even mix cheeses for a fun twist!
Ingredient Swaps
You can swap ingredients to fit your taste. For instance, use brown rice instead of quinoa for a heartier base. Brown rice adds a nice chewiness.
If you want to get creative, substitute the bell peppers. Try using zucchini or eggplant as the base. These veggies can hold the filling well and add a new flavor. Each swap keeps the meal exciting and fresh!
Storage Info
Best Storage Practices
To store leftovers, let the stuffed peppers cool first. Place them in an airtight container. They will stay fresh in the fridge for up to three days. If you want to keep them longer, consider freezing them. Use freezer-safe containers or heavy-duty freezer bags. Squeeze out as much air as possible before sealing.
Reheating Instructions
To reheat stuffed peppers, the oven is best for keeping them moist. Preheat your oven to 350°F (175°C). Place the peppers in a baking dish and cover with foil. Bake for about 20 minutes or until heated through. You can also use the microwave for a quicker option. Heat on medium power for 2-3 minutes, checking often. Adding a splash of water helps keep the flavors fresh.
Freezing Tips
You can freeze the peppers before or after baking. If you choose to freeze them before, stuff the raw peppers, then wrap them well. Bake directly from the freezer when you're ready to eat. Increase the baking time by about 10-15 minutes. If you freeze them after baking, let them cool and then wrap tightly. Thaw in the fridge overnight before reheating in the oven. This keeps them tasty and safe to eat.
FAQs
Can I use different types of peppers?
Yes, you can use other types of peppers. Bell peppers come in many colors: red, yellow, green, and orange. Each color has its own taste. Red peppers are sweet, while green ones are more bitter. You can also try poblano or Anaheim peppers for a spicy kick. Just remember to adjust cooking time if the peppers are different sizes.
How can I make this recipe dairy-free?
To make this dish dairy-free, skip the cheese. You can use dairy-free cheese alternatives made from nuts or soy. Nutritional yeast is another tasty option. It adds a cheesy flavor without dairy. You can also use avocado slices on top for creaminess.
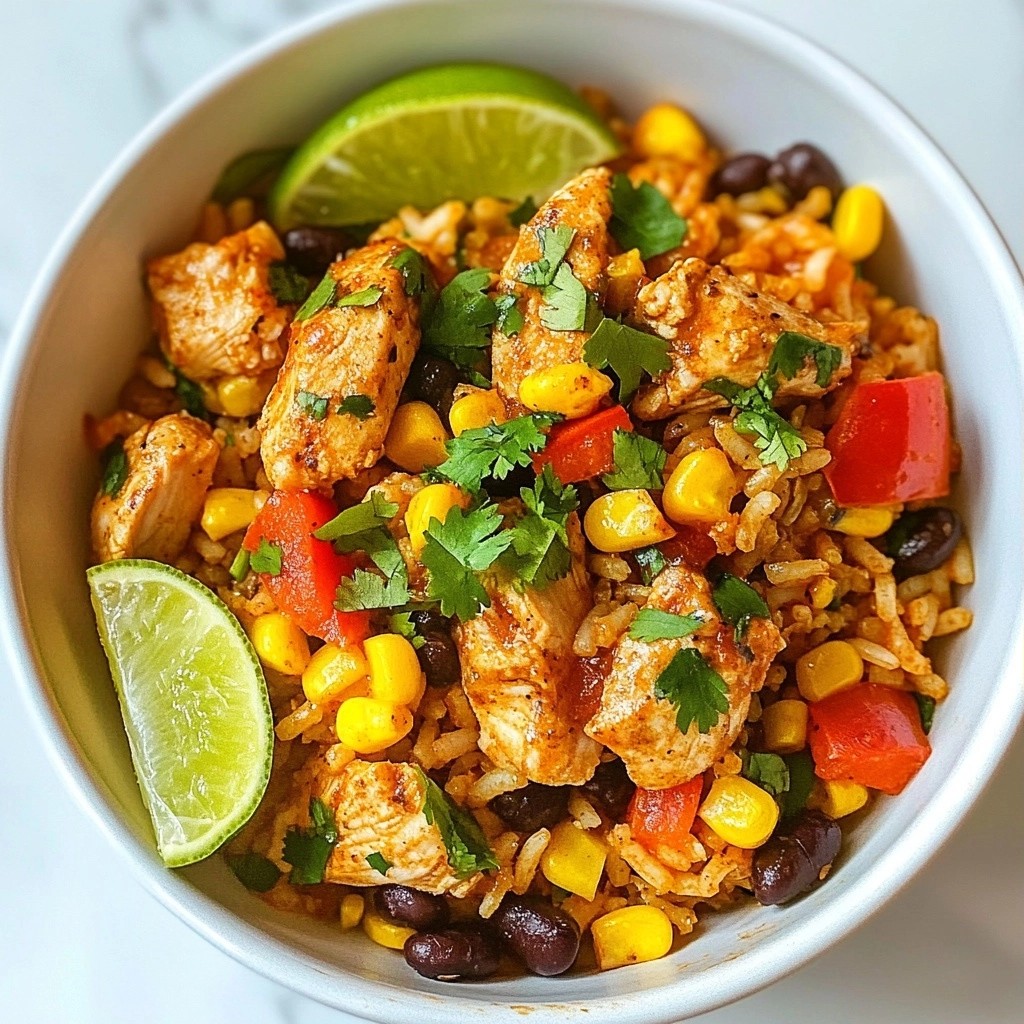
What can I serve with Tex-Mex stuffed peppers?
These stuffed peppers pair well with various sides. Here are some ideas:
- Spanish rice for a hearty addition
- Guacamole for a creamy dip
- Salsa for a fresh touch
- Cornbread for a sweet contrast
- Green salad for a light side
Feel free to mix and match!
This blog post covered how to make delicious Tex-Mex stuffed peppers. We explored the needed ingredients, step-by-step cooking instructions, and tips for great taste. I shared ideas for variations and how to store any leftovers.
Enjoy making these stuffed peppers your own. Use different spices, proteins, and even toppings. Keep experimenting until you find the perfect mix that suits your taste. Happy cooking!